Price Drop
The price drop trigger requires price changes to be reflected via the trackProductView endpoint of our API. In order for a price drop to be qualified, we need to track 10 unique sessions that reflect the price change.
In this tutorial, we'll walk through the process of setting up a price drop journey that triggers when any product in your catalog has a qualifying price reduction. This trigger is effective because it automates connecting high intent customers to a conversion-driving event.
Strategy
This guide is focused on the operational aspects of configuring a price drop journey. If you're in the process of planning your price drop program, start with this strategy-focused resource:
Creative
You'll build your templates using our Advanced HTML/CSS Editor or the Drag and Drop Editor.
Injecting Price Drops
The price drop trigger uses a special set of merge tags for injecting product data, including the old and new prices:
{% get_product session.metadata.price_change_product_id as price_dropped_item %}
{% if price_dropped_item %}
<img src="{{ price_dropped_item.image_url }}" />
<span class="product-title">{{ price_dropped_item.name }}</span>
<p>{{ price_dropped_item.description }}</p>
<p>Price Before: {% display_currency session.metadata.price_change_previous_price %}</p>
<p>Price Now: {% display_currency session.metadata.price_change_new_price %}</p>
<a href="{{ price_dropped_item.product_url }}">Buy Now!</a>
{% endif %}
Configuring the Journey
First, click Journeys in the main navigation. Then, click Add New Journey.
Start by naming the Journey something like, "Price Drop v1".
Then, select the Price Change trigger:
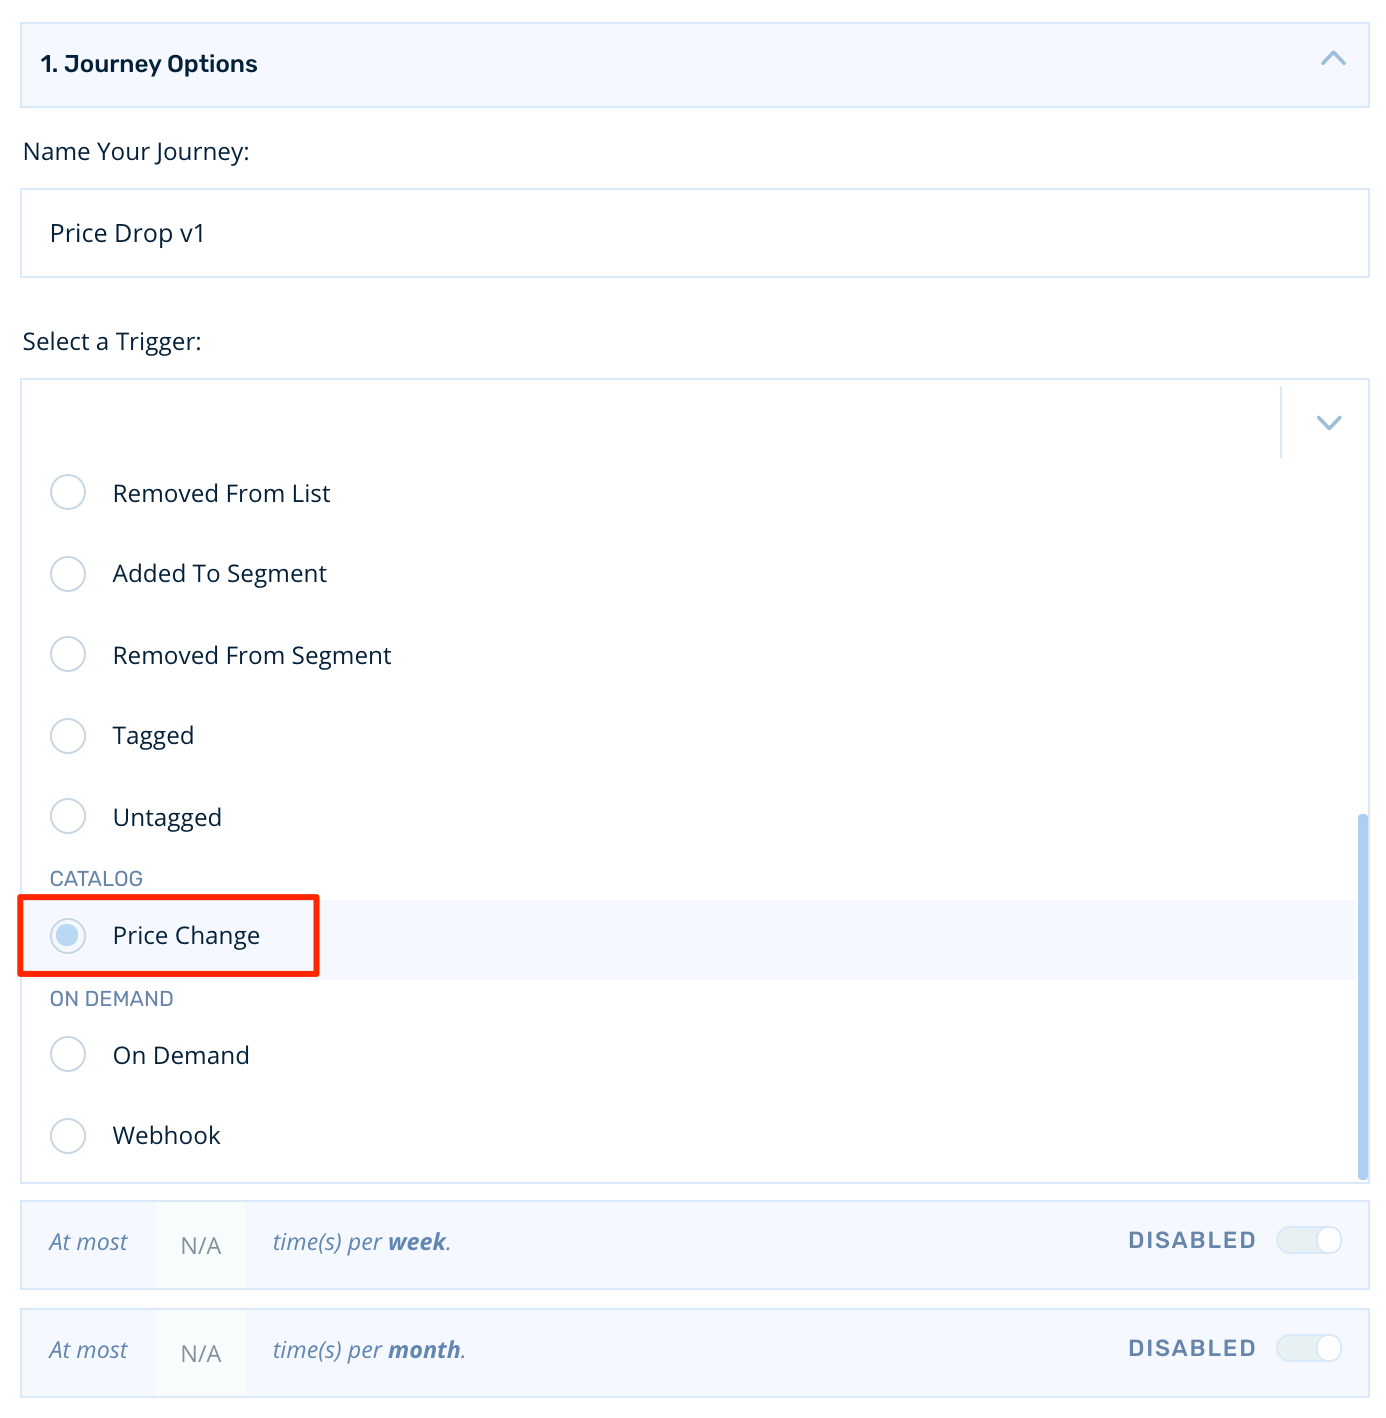
Next, we'll set up the business rules for the journey trigger.
Our first set of options allows us to limit the journey to specific product SKUs or categories. If we leave fields blank, Rejoiner will watch the entire product catalog for qualifying changes.:

Next, you can set the lists above to be whitelists or blacklists:

Next, we'll set our price change threshold. Let's use a 20% price drop for this example which means that the trigger will fire if the price of any items decreases by at least 20%:

Finally, we'll configure which customers to notify of the price change. We can notify customers who have browsed, carted, or done both without buying the price dropped product within the last X days:

Conversion Rules
If the customer converts during the journey, we'll configure the conversion rules to exit them from the journey:

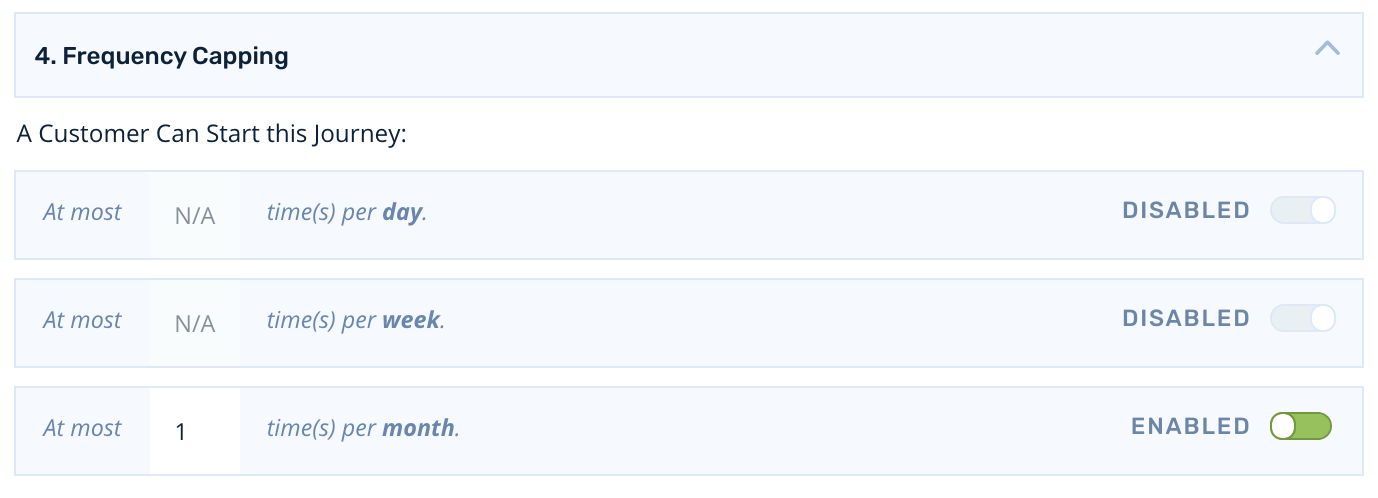
Frequency Capping
Then, we'll limit customers from entering this price drop journey more than 1 time per month:
Building the Journey
Targeting Your Audience
To start, click Add New Audience.
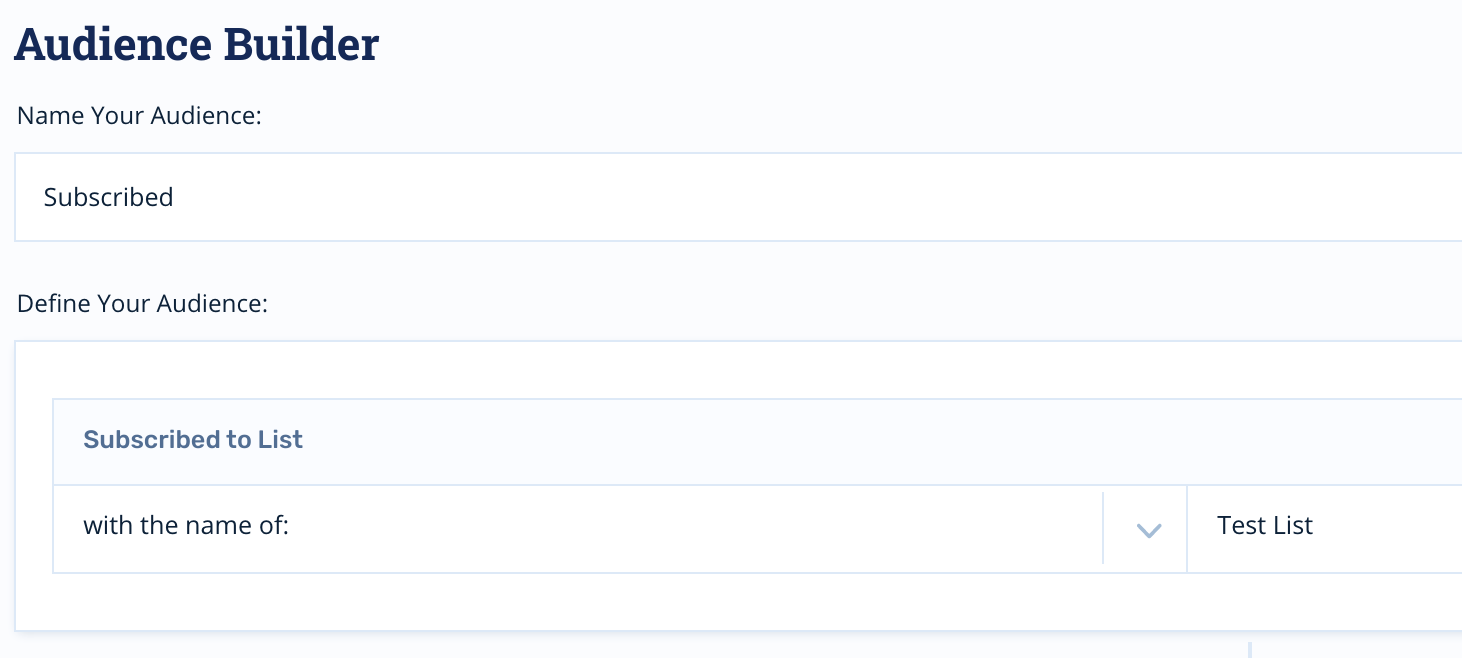
We'll limit our price drop trigger to send only to those customers who are subscribed to our main list using the Subscribed to list filter:
Positioning Nodes
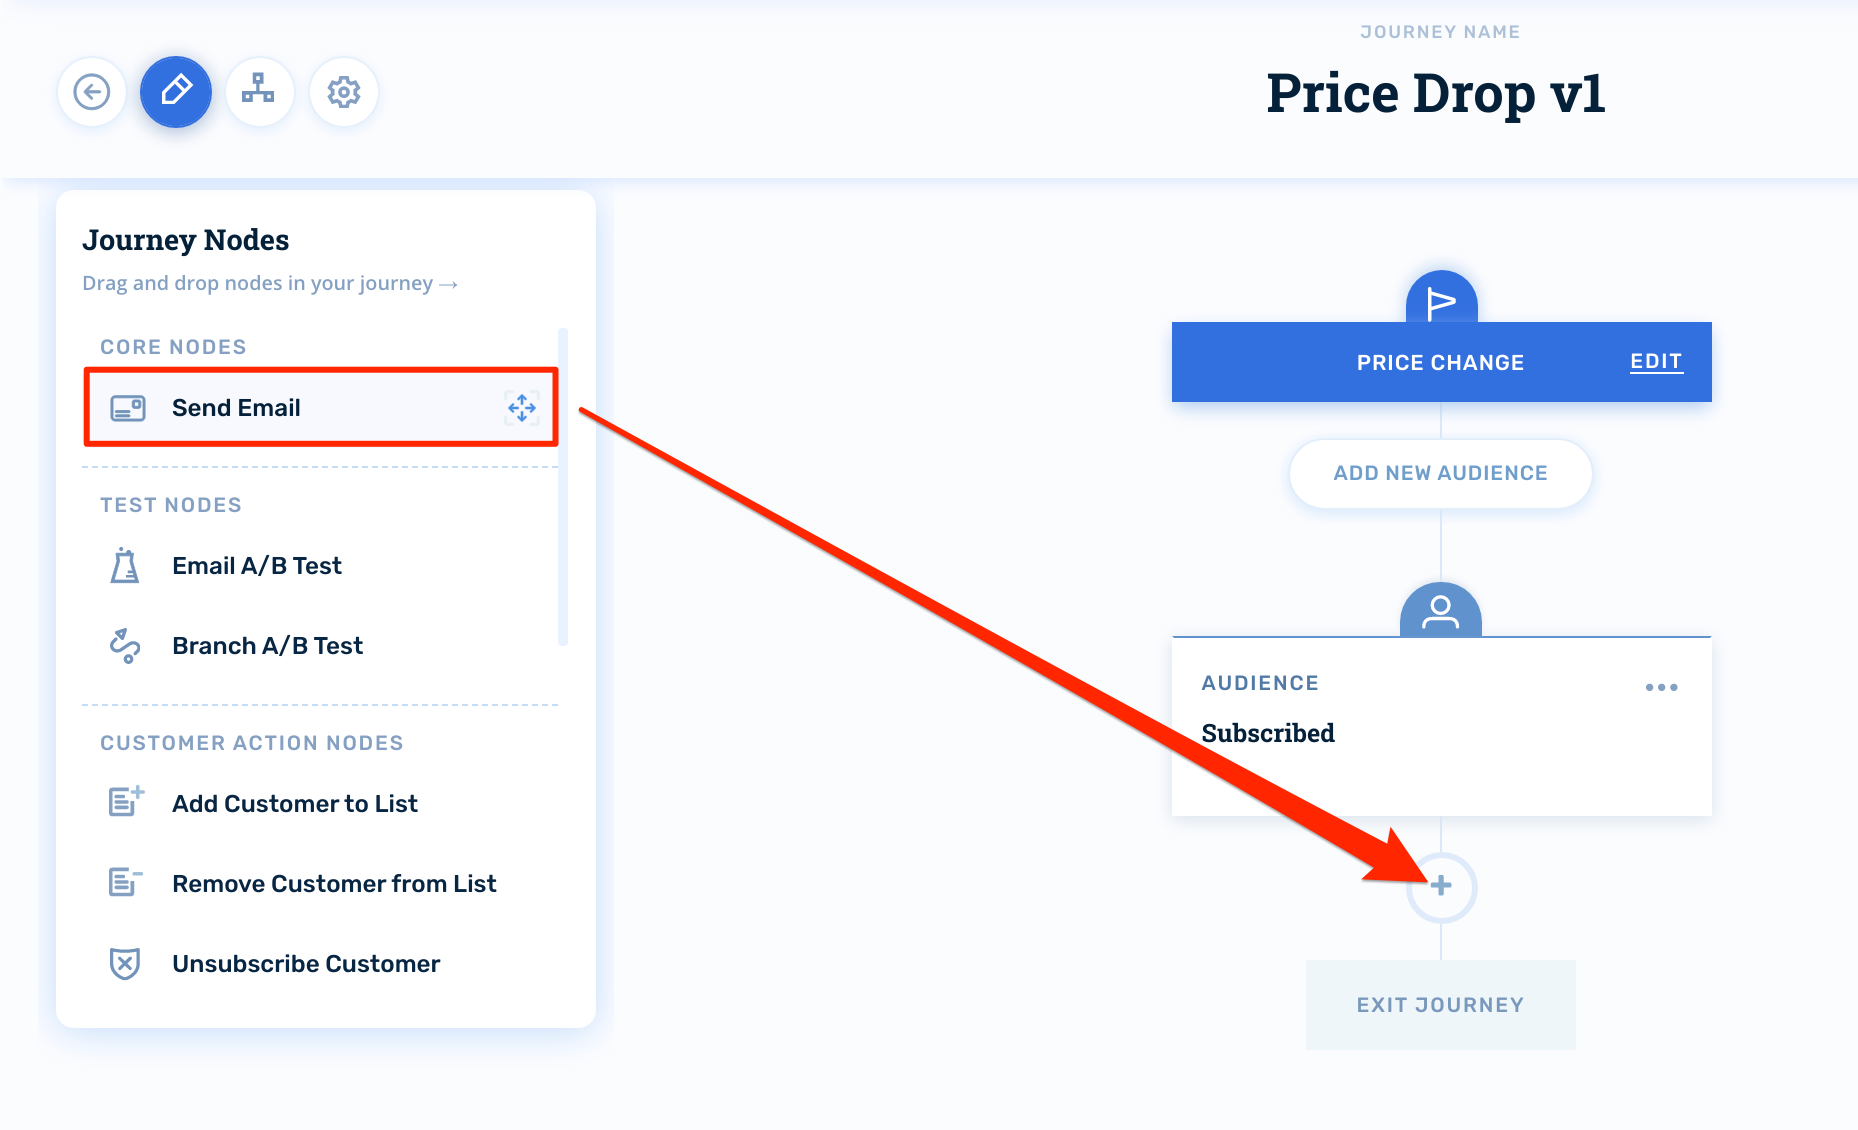
Now that our audience is set, let's set up our price drop email. Click the Journey Nodes icon, select Send Email and drag it into position below the audience.
Configuring Email Nodes
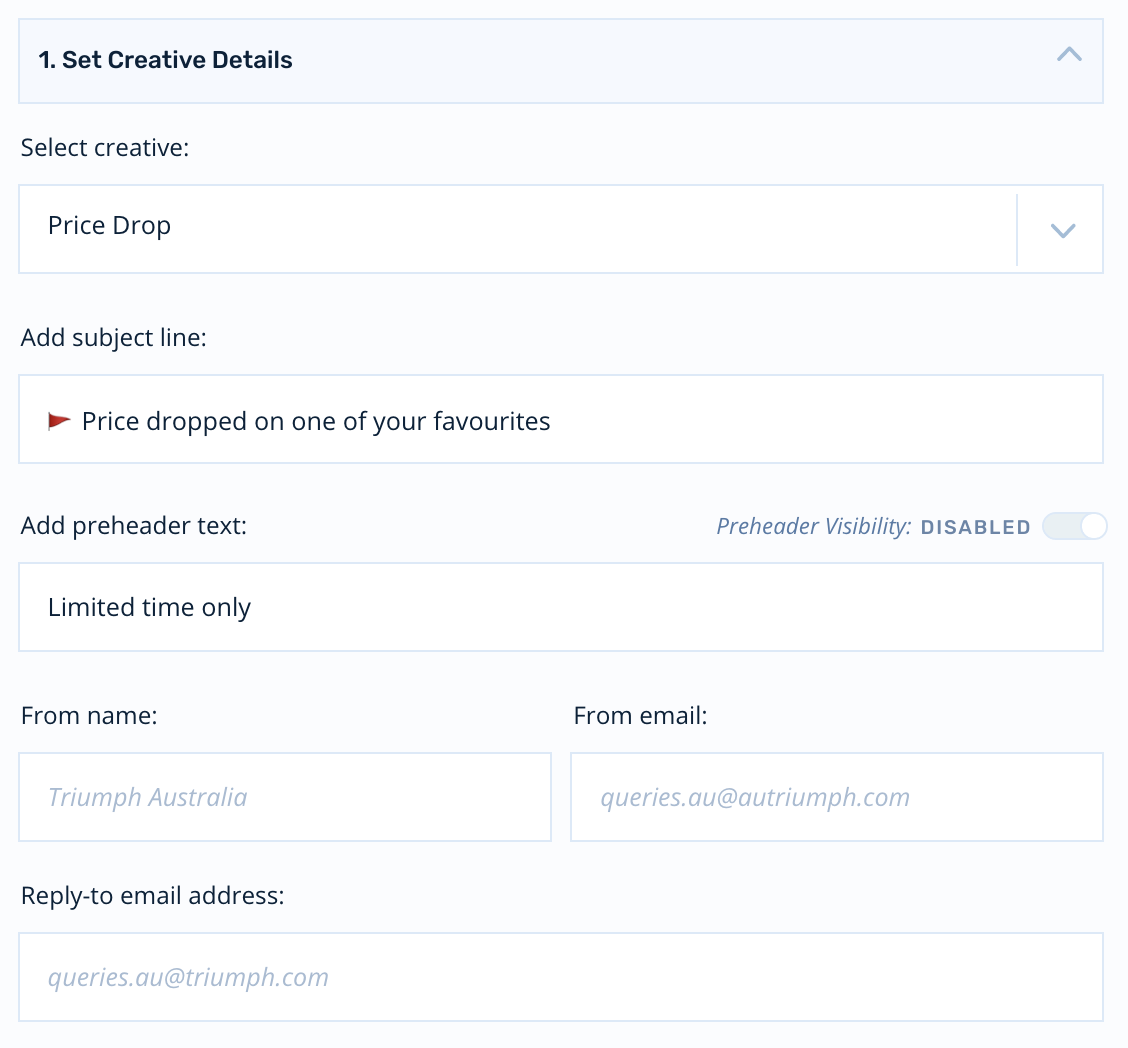
First, you'll select your creative. Then, you'll configure your subject lines and preheaders.
The email node will inherit the default sender information from your account, but you can override this on a per-email basis if you wish:
Wait Times
We recommend setting your first price drop email to send Immediately after a qualifying drop has confirmed.
Activating the Journey
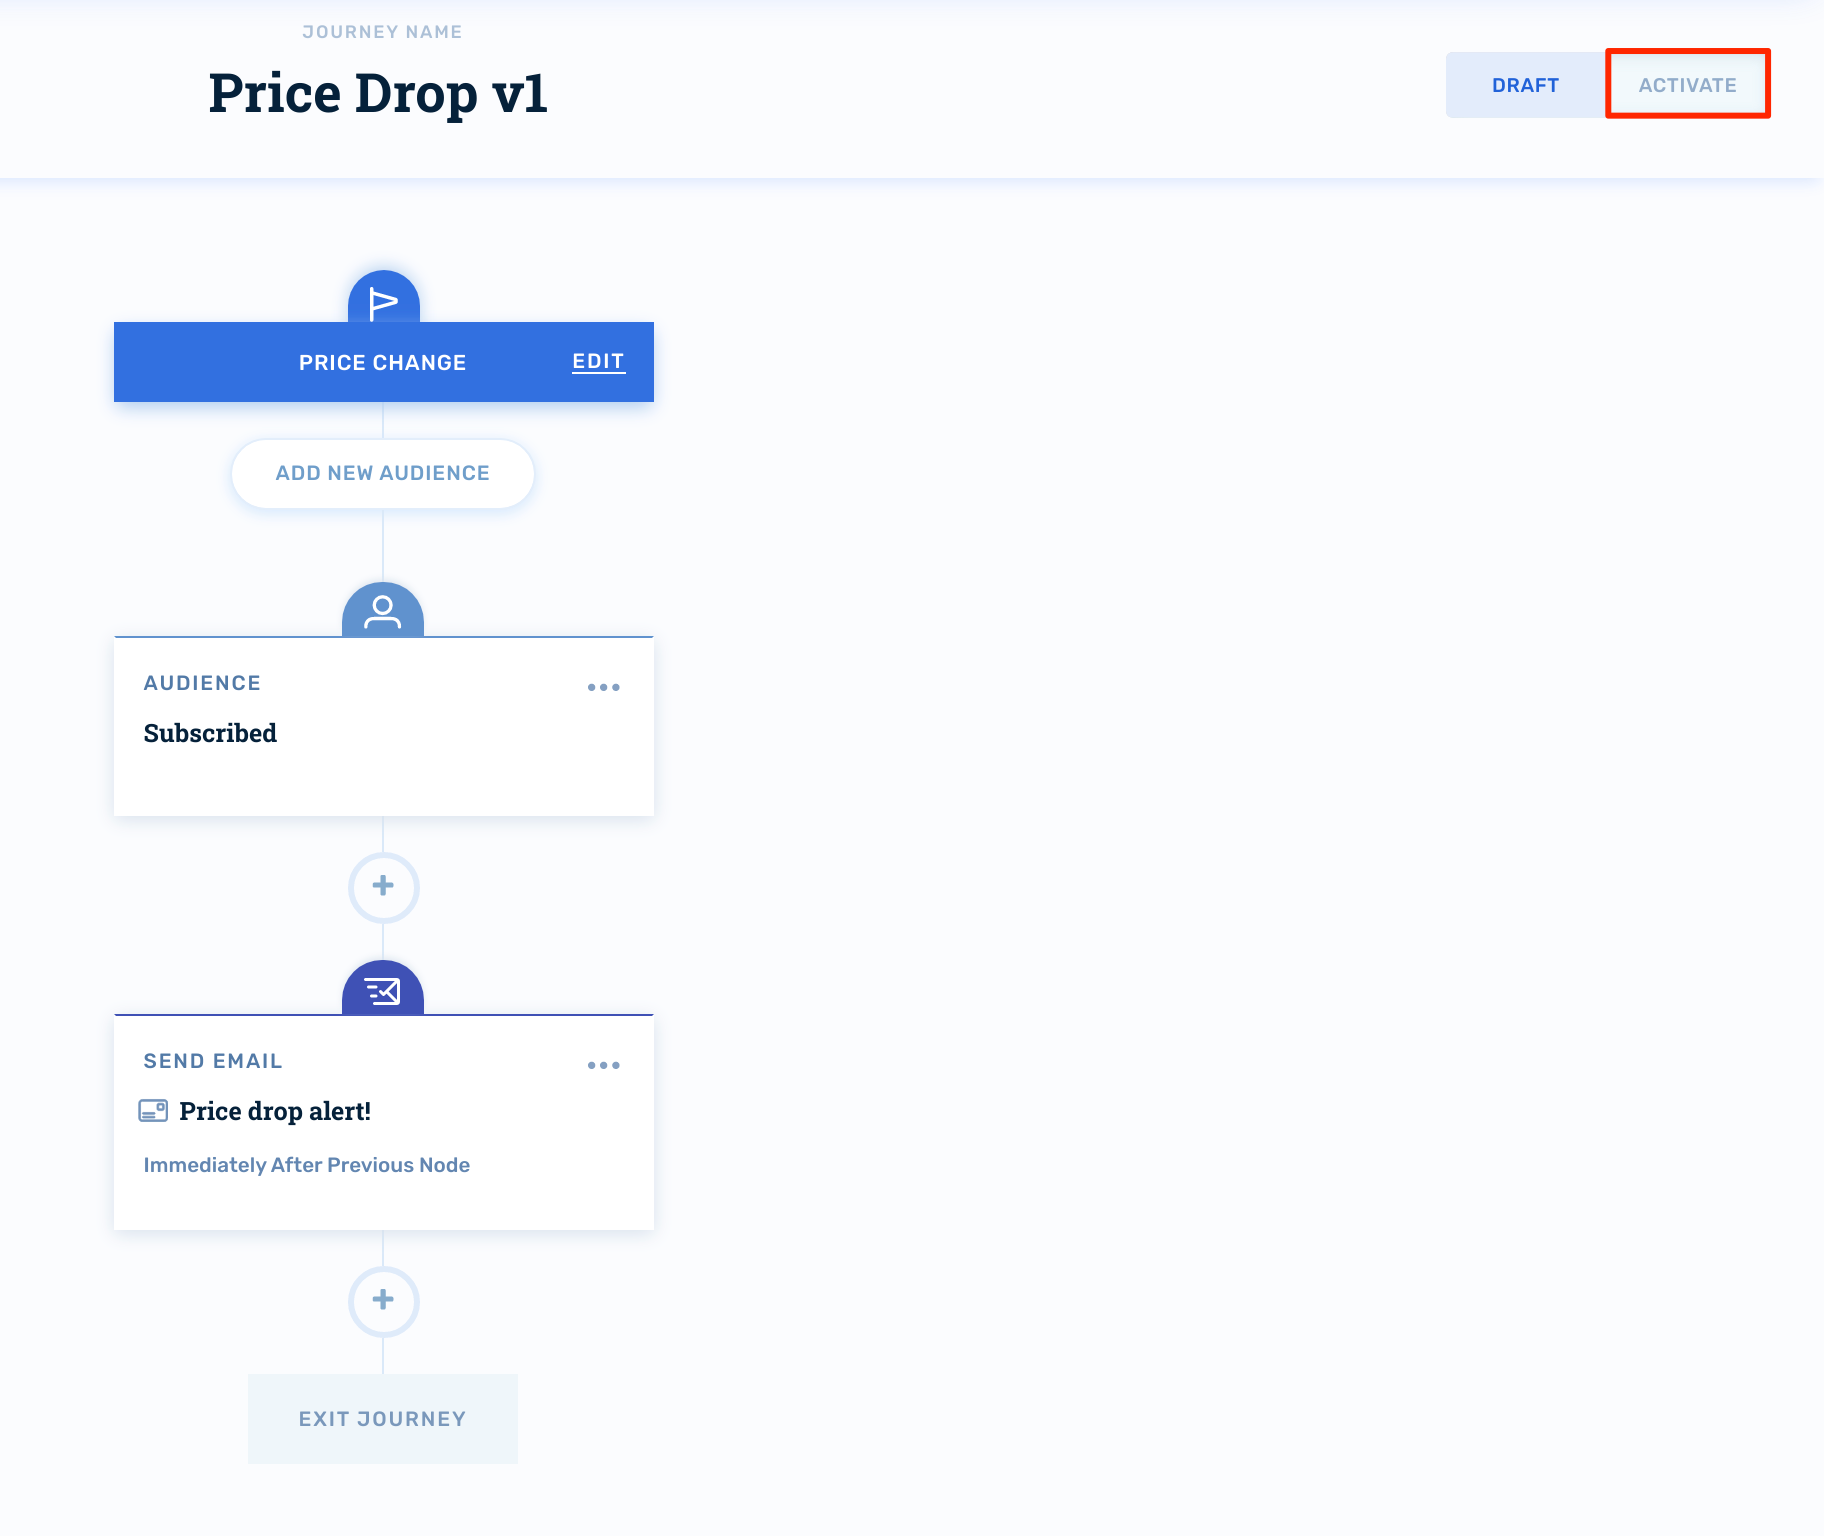
When you're ready to turn your price drop journey on for production audiences, click Activate in the upper right-hand corner of the journey builder:
Updated 3 months ago
