Nodes
Nodes control each action as the customer moves through your Journey.
Leveraging Nodes
To begin the process of building your journey, locate the Journey Nodes icon and click. This will expose a library of available journey nodes which can then be dragged into position:
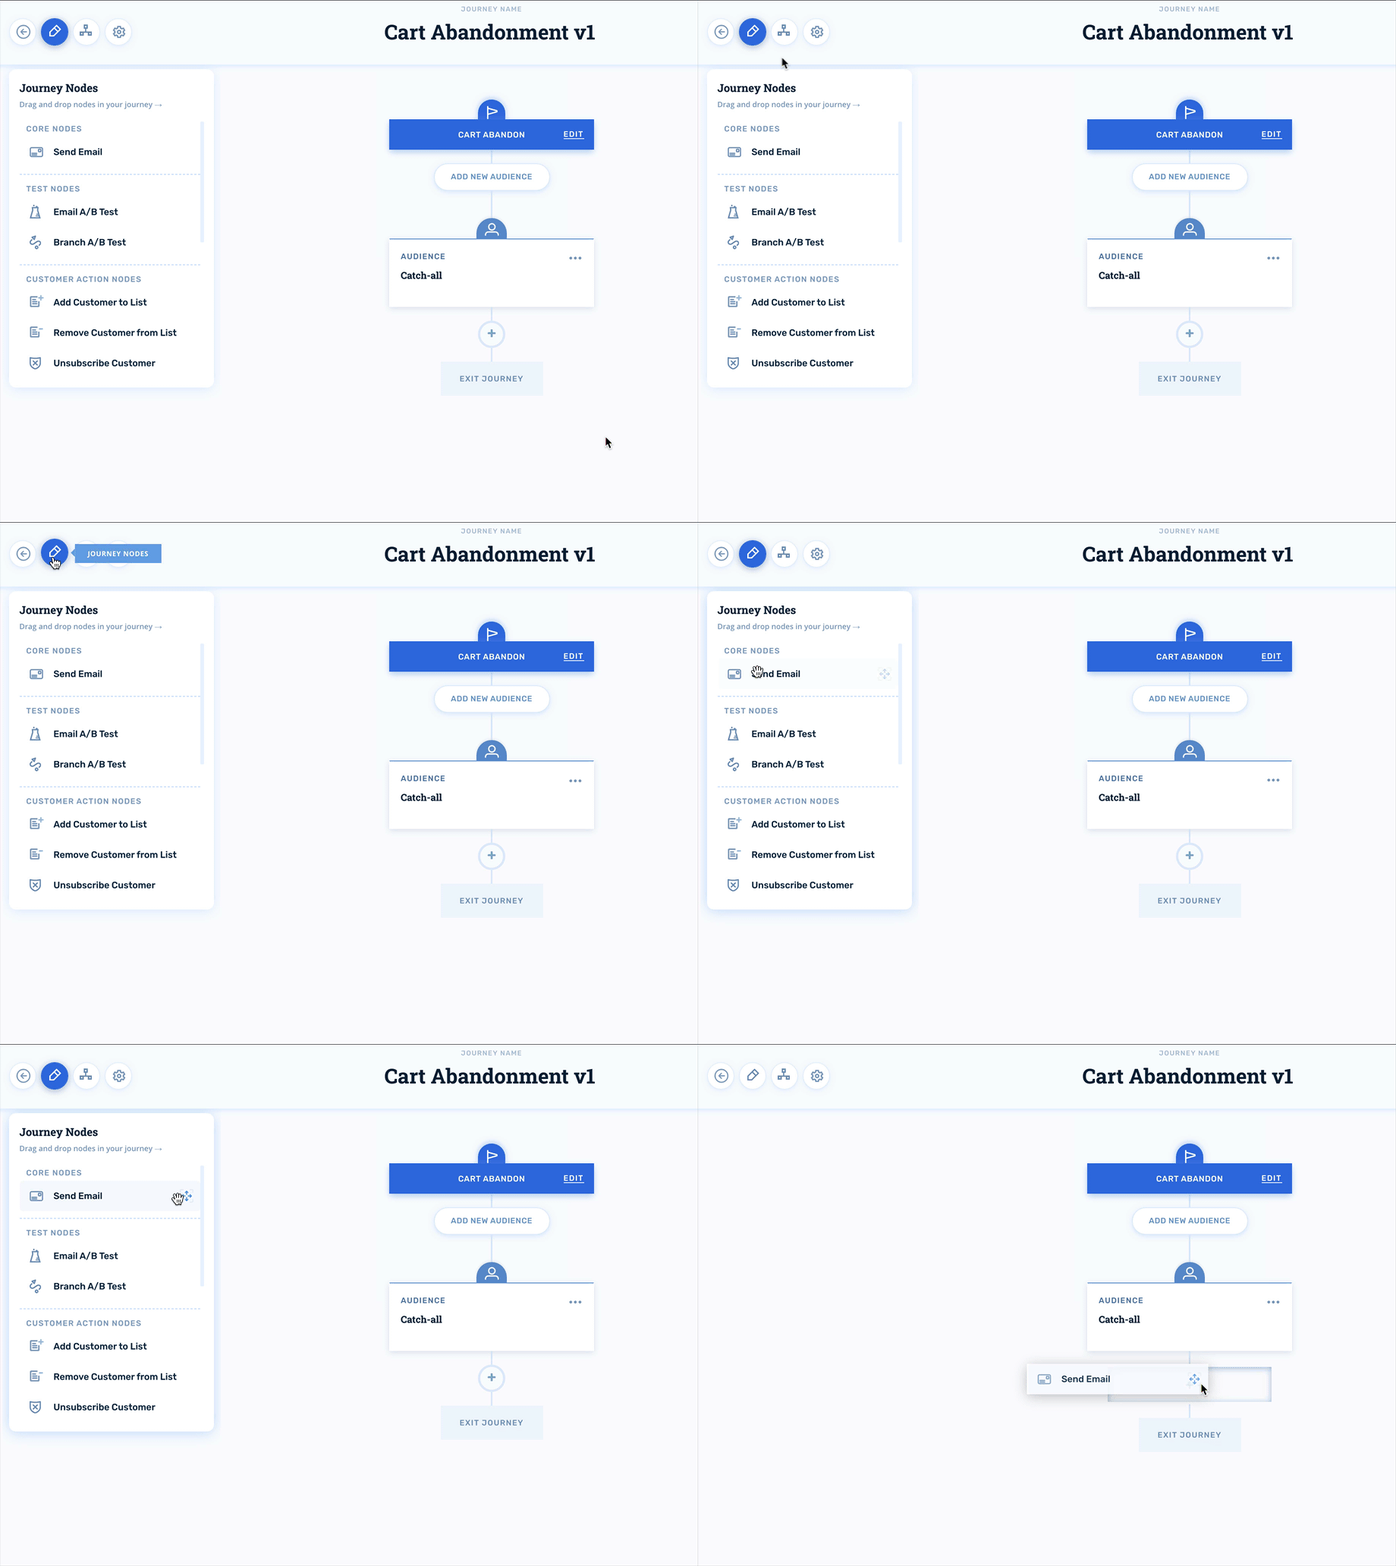
You can always return to the Journey Node library by clicking the Journey Nodes icon or the + sign in a Journey branch.
Editing Nodes
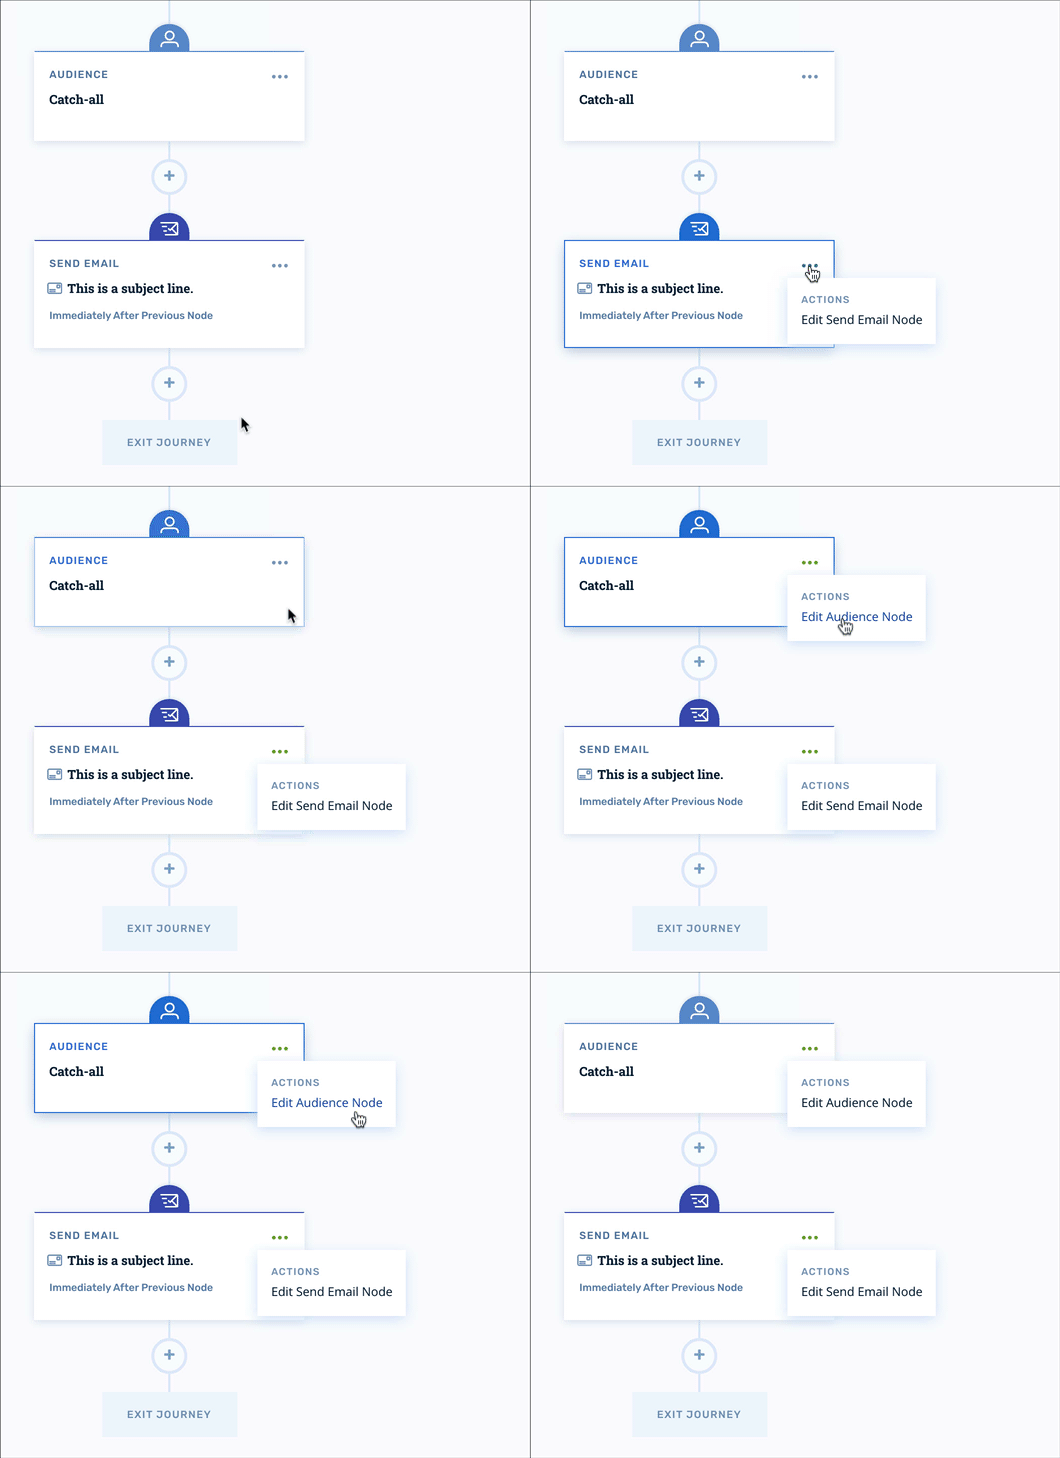
Once you've positioned a node where you want it, you can edit its properties by clicking the three dots in the upper right-hand corner of the node:
Deleting Nodes
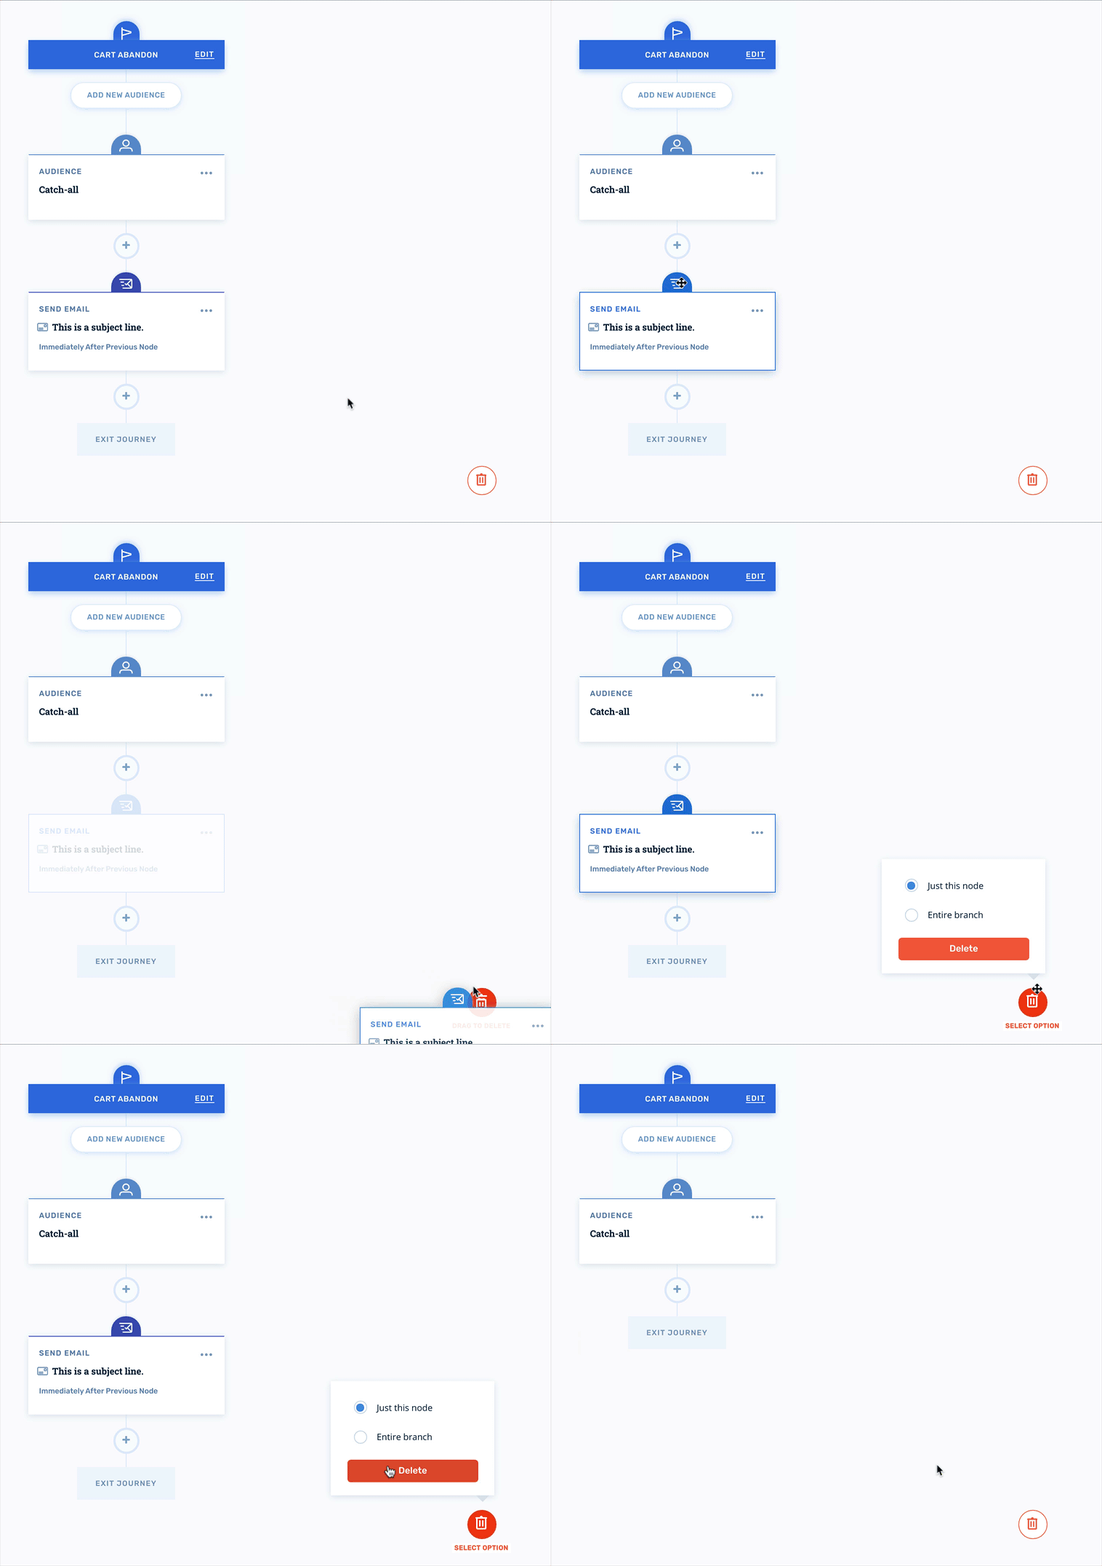
To delete nodes, you can drag the node to the trash can in the lower right-hand corner of the Journey Builder:
Waiting / Completed
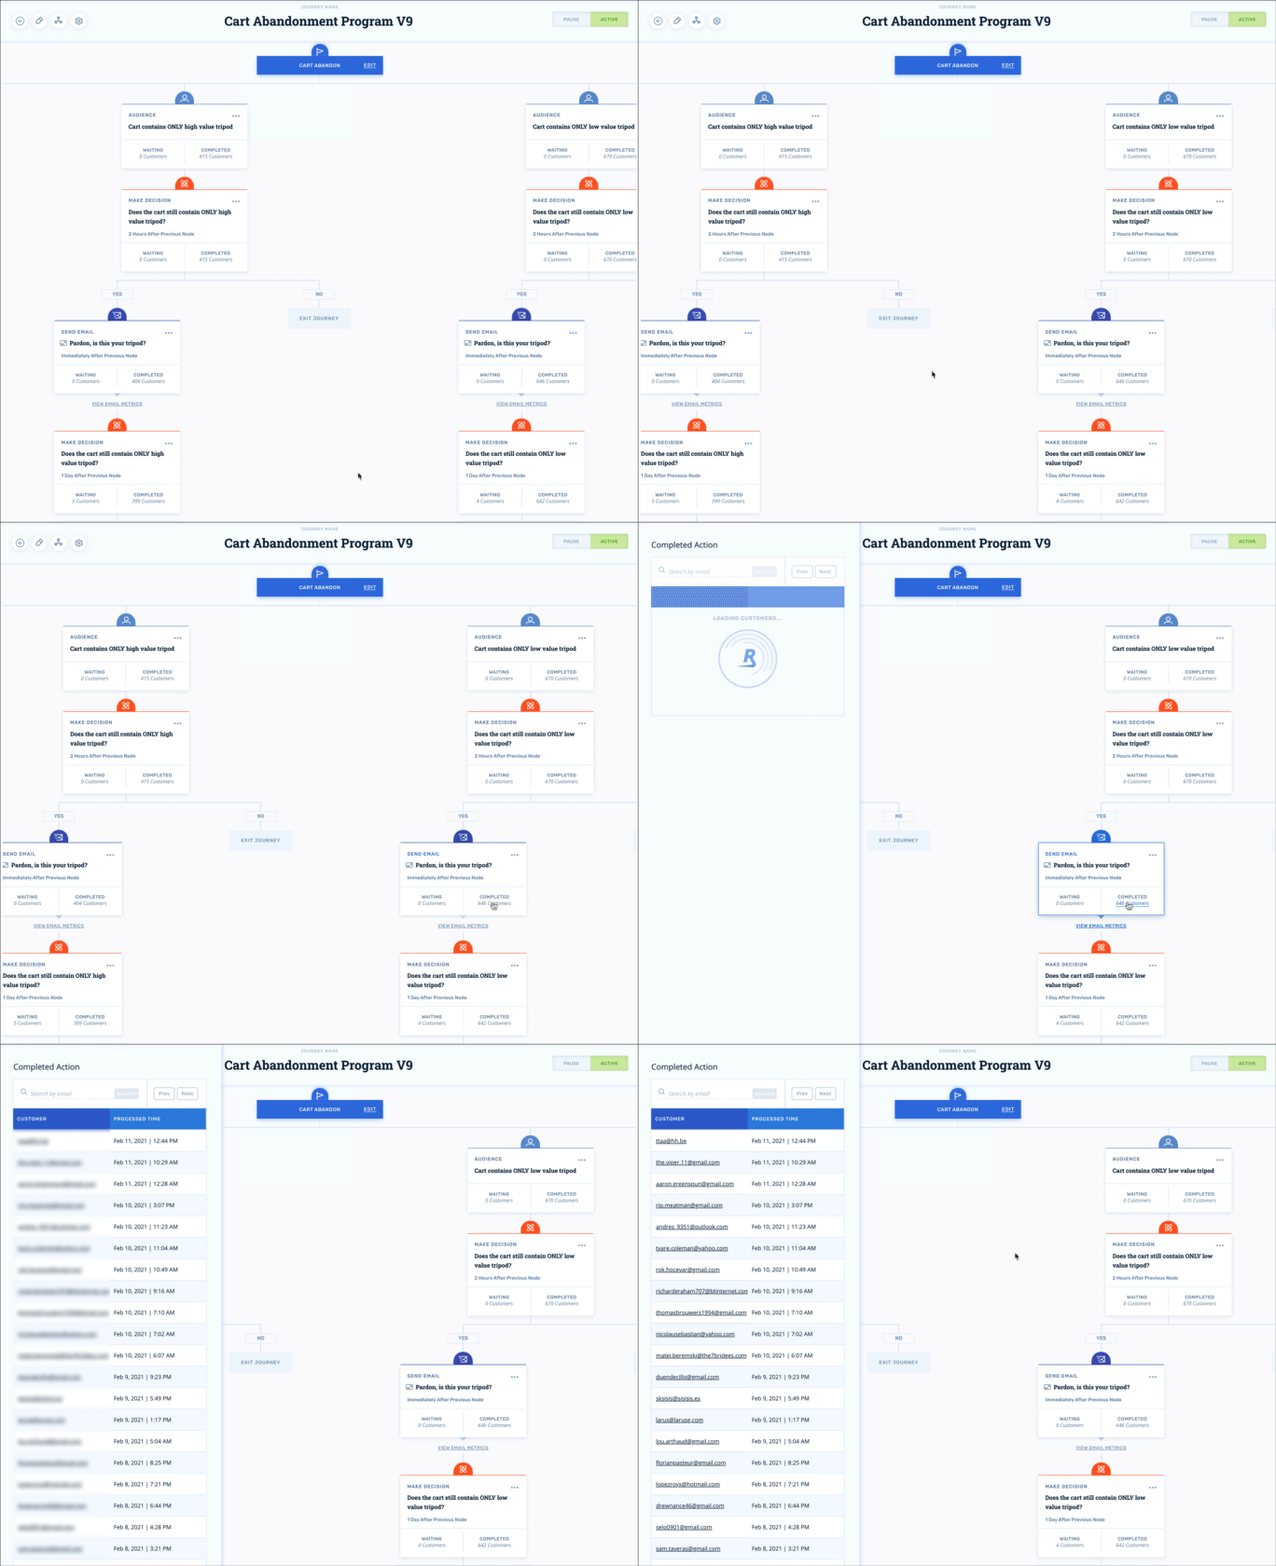
All nodes in active journeys enable you to drill down into a list of customers that successfully completed the node as well as those who are waiting to be processed. Click on the Waiting or Completed sections of the node to expose the customer lists:
Nodes
Send Email
The Send Email node controls the timing and creative for delivering automated emails to your customers.
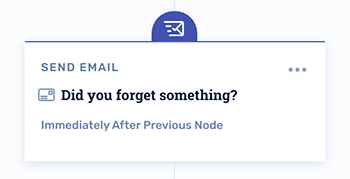
Email Nodes Settings
-
Creative Details: Here you'll choose a piece of email creative to send, as well as subject lines, preheaders, and envelope information for the email.
-
Attribution Goals: Set custom attribution rules for this specific email or choose to use account defaults.
-
Link Tracking: Select whether or not you'd like to disable link tracking for this email.
-
Delivery Rules: Set wait times or wait for specified events. Wait times are relative to the preceding node's time of completion. So if you set a wait time of 30 minutes, the node will process 30 minutes after the preceding node was completed.
Delivery Rules DeprecatedThe Delivery Rules functionality is being deprecated in favor of the new Wait Node functionality.
While your existing Delivery Rules will continue to work as configured and are still available during the transition to Wait Node, please use the new Wait Node functionality (see below for details) going forward as it covers all of the same functionality and has more options.
- Transactional: Enable or disable transactional email. Enabling will ignore previous customer subscription preferences.
Wait
The Wait node allows you to set a wait time between nodes. The type of a Wait node is configurable. It could be for a wait for a specified period of time (or delay) or it could be a wait for a specified day or time of day or it could be a wait for a certain event.
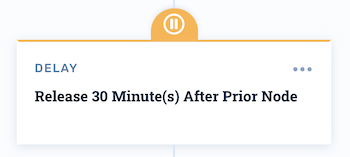
The Wait Node functionality replaces the previous "Delivery Rules" functionality and includes new "Wait for Timeframe" options.
Types of Wait
Delay
The Delay type means the node will wait for an amount of delay time. This would be a specific amount of time starting from the completion time of the previous node in the journey. The user will be delayed at the Wait node for the amount of time configured before moving to the next node in the journey.
Wait for Timeframe
The Wait for Timeframe type means the node will wait until the specified day(s) of the week and/or time(s) of the day. So if you set a timeframe of Tuesday between 3 PM and 5 PM and the user completes the previous node on a Friday, then they will wait to proceed to the next node until the following Tuesday at 3 PM.
If you want to set a timeframe for time(s) of the day, but don't want to wait for any specific day of the week, you can simply leave all days of the week selected.
Customer vs Account time zone
If you select customer's time zone, when checking if the time of day conditions are met, the time zone of the user will be used. We determine the customer's time zone by the geolocation of their IP address.
If you select account's time zone, when checking if the time of day conditions are met, the time zone configured in your account's Domain Settings will be used.
Wait for Event
The Wait for Event type means that the user will be held at the Wait node until a specific event occurs.
Types of Events
-
Explicit Consent: Waits until the user has clicked through the
{{opt_in_url}}which they would received in a previous email or other communication.. This is commonly used in a situation where you don't want a customer to continue a journey until they've provided double opt-in. -
Conversion: Waits until a conversion event (e.g. purchase) has occurred for the user.
-
Click on Link ID: Waits until the user clicks on a specific Link ID.
-
Inbound Webhook: Waits until an inbound webhook is received for the specific user on the specific node. For more details about how this works, read here: Trigger Waiting Journey Node.
A/B Testing
The Journey Builder enables two different types of testing:
Email A/B Test
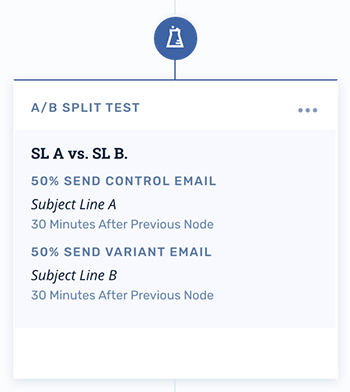
If your goal is to focus your testing efforts on optimizing a single email node without making significant structural changes to other nodes in the journey, Email Tests enable you to encapsulate the test in a single node:
Branch A/B Test
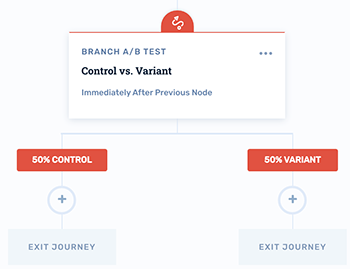
When you are testing more significant structural changes to a journey like how many emails to send or significantly different email timing across email nodes, a branch-based test is better suited to determine which combination of nodes will be more effective at achieving your goals.
Branch tests enable you to send a percentage of customers down a control branch and the remainder down a variant:
Viewing Test Results
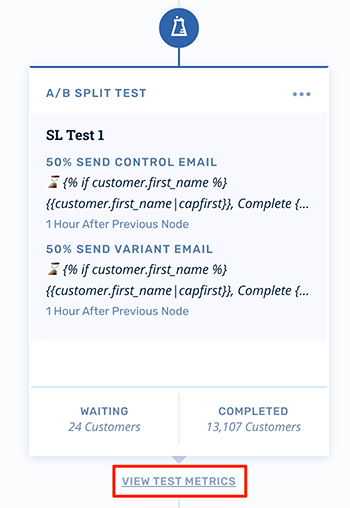
To report on the results of an active test, click View Test Metrics beneath the test node:
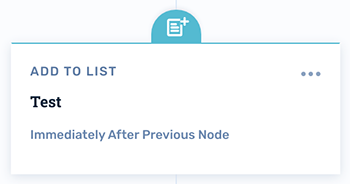
Add Customer to List
The node will add the customer to a specified list.
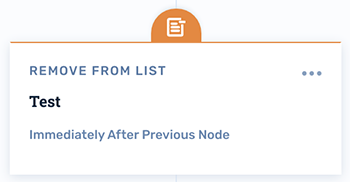
Remove Customer from List
The node will remove the customer from the soecified list.
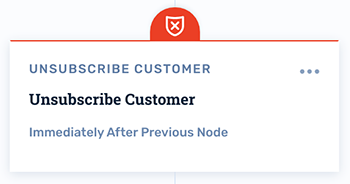
Unsubscribe Customer
The node will set the customer's subscription preference to Unsubscribed.
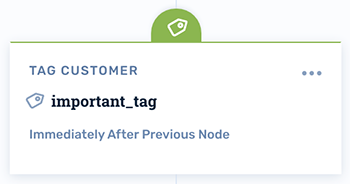
Tag Customer
The node will apply a tag to the customer's profile. Tags can be used for segmentation and triggering.
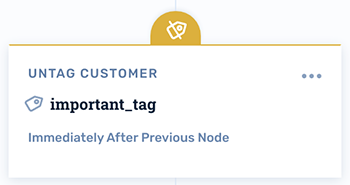
Untag Customer
The node will remove a specific tag from the customer's profile. Tag removal is also a triggerable event.
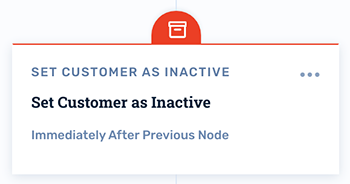
Set Customer as Inactive
The node will set the customer's profile to Inactive status. This means the customer contact will no longer be applicable for billing purposes and cannot be emailed.
Branching
There are several ways to branch Journeys.
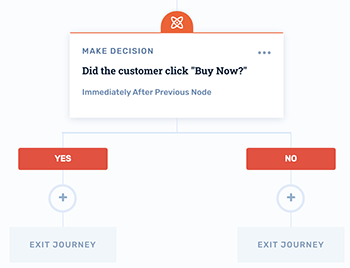
Make Decision
Decisions enable you to evaluate the customer's session data and branch the journey based on whether or not the customer matches your filtering criteria.
Fork
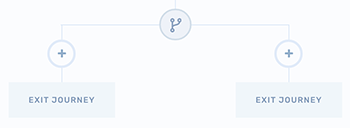
Forks enable you to run two branches in parallel. This means that customers who enter a branch at a fork will go down its two branches simultaneously.
Split
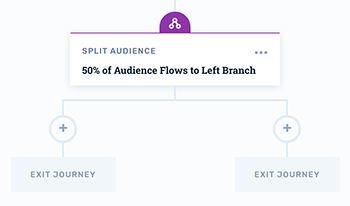
Splits enable you to send a specified percentage of traffic down one branch and the remaining percentage down another.
Webhooks
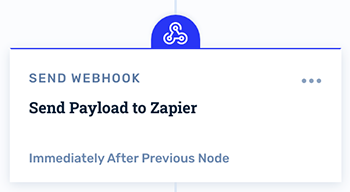
Webhooks enable you to trigger custom events throughout journeys that can interact with other third-party applications. For example, you could trigger a webhook at the end of a cart abandonment journey that Zapier uses to add the customer's information to your CRM.
Send Webhook
Learn more about webhooks here.
Updated 4 months ago
