Snippets
Snippets enable you to develop global, reusable email components that can be employed across creatives. This is especially effective for email components that are frequently re-used like headers, footers, free shipping blocks, etc.
Should you need to make an adjustment to one of these components, you can make a single change to the snippet and deploy it to all of the creatives that use it.
Building Snippets
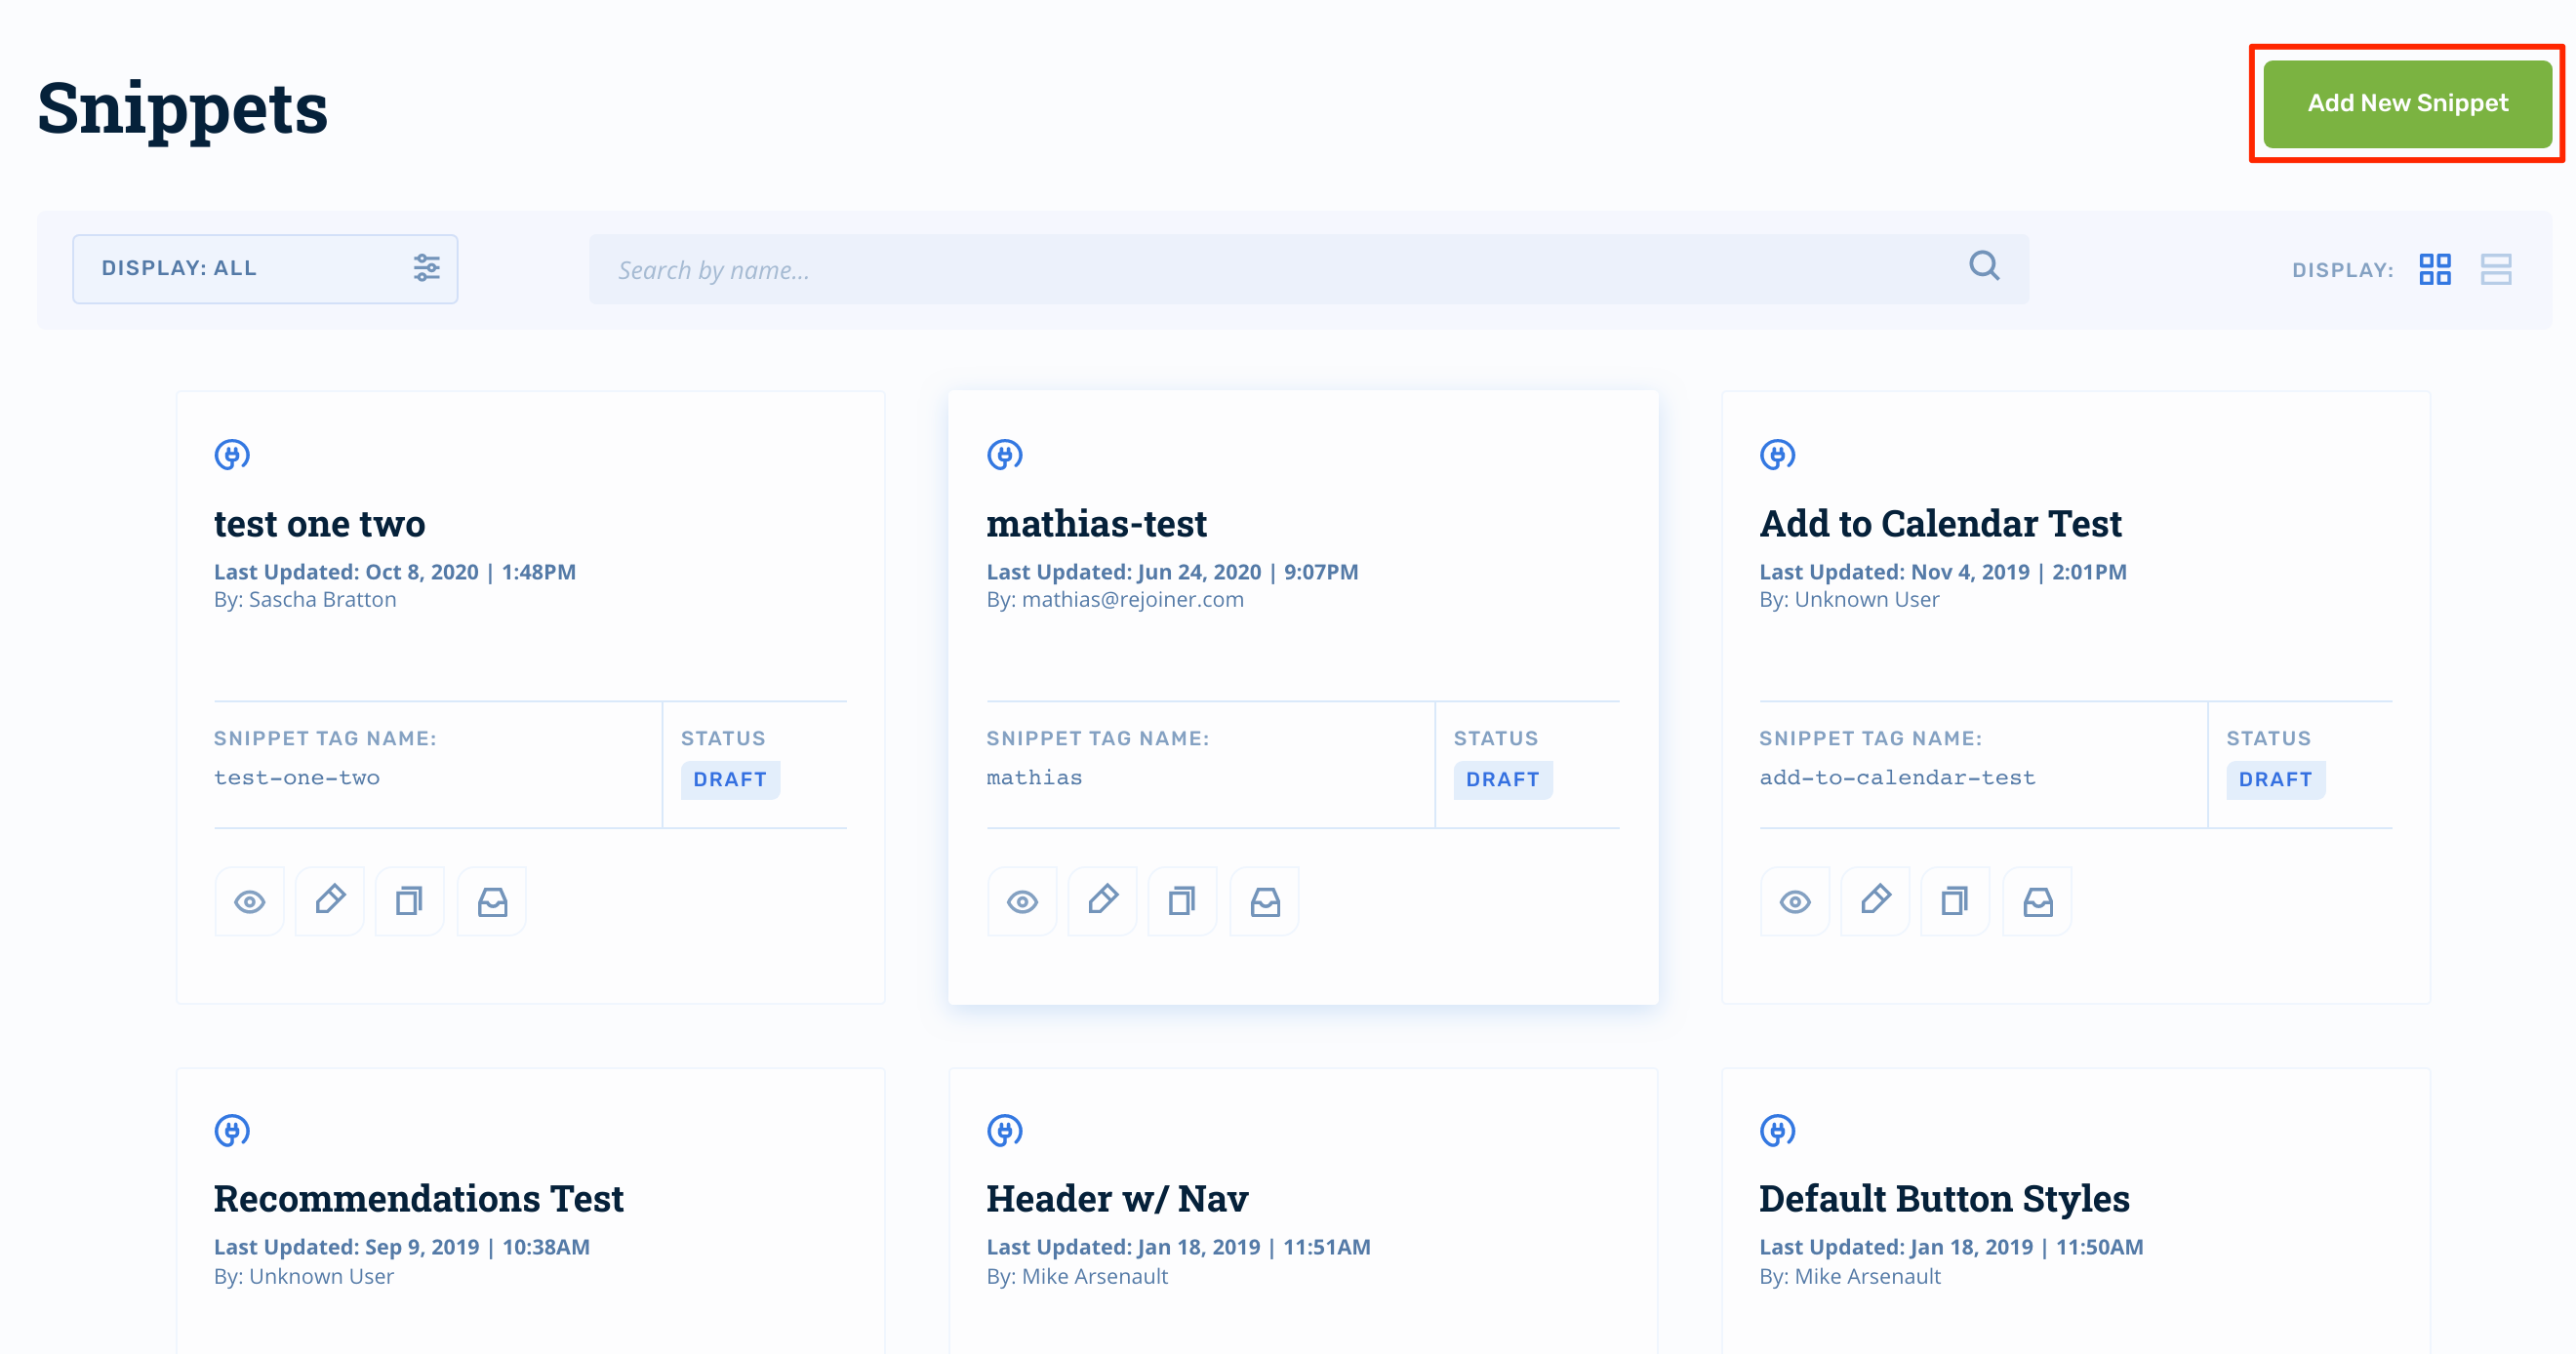
To create a new snippet, click Creative in the main navigation, then Snippets in the sub-nav:

Then, click Add New Snippet:
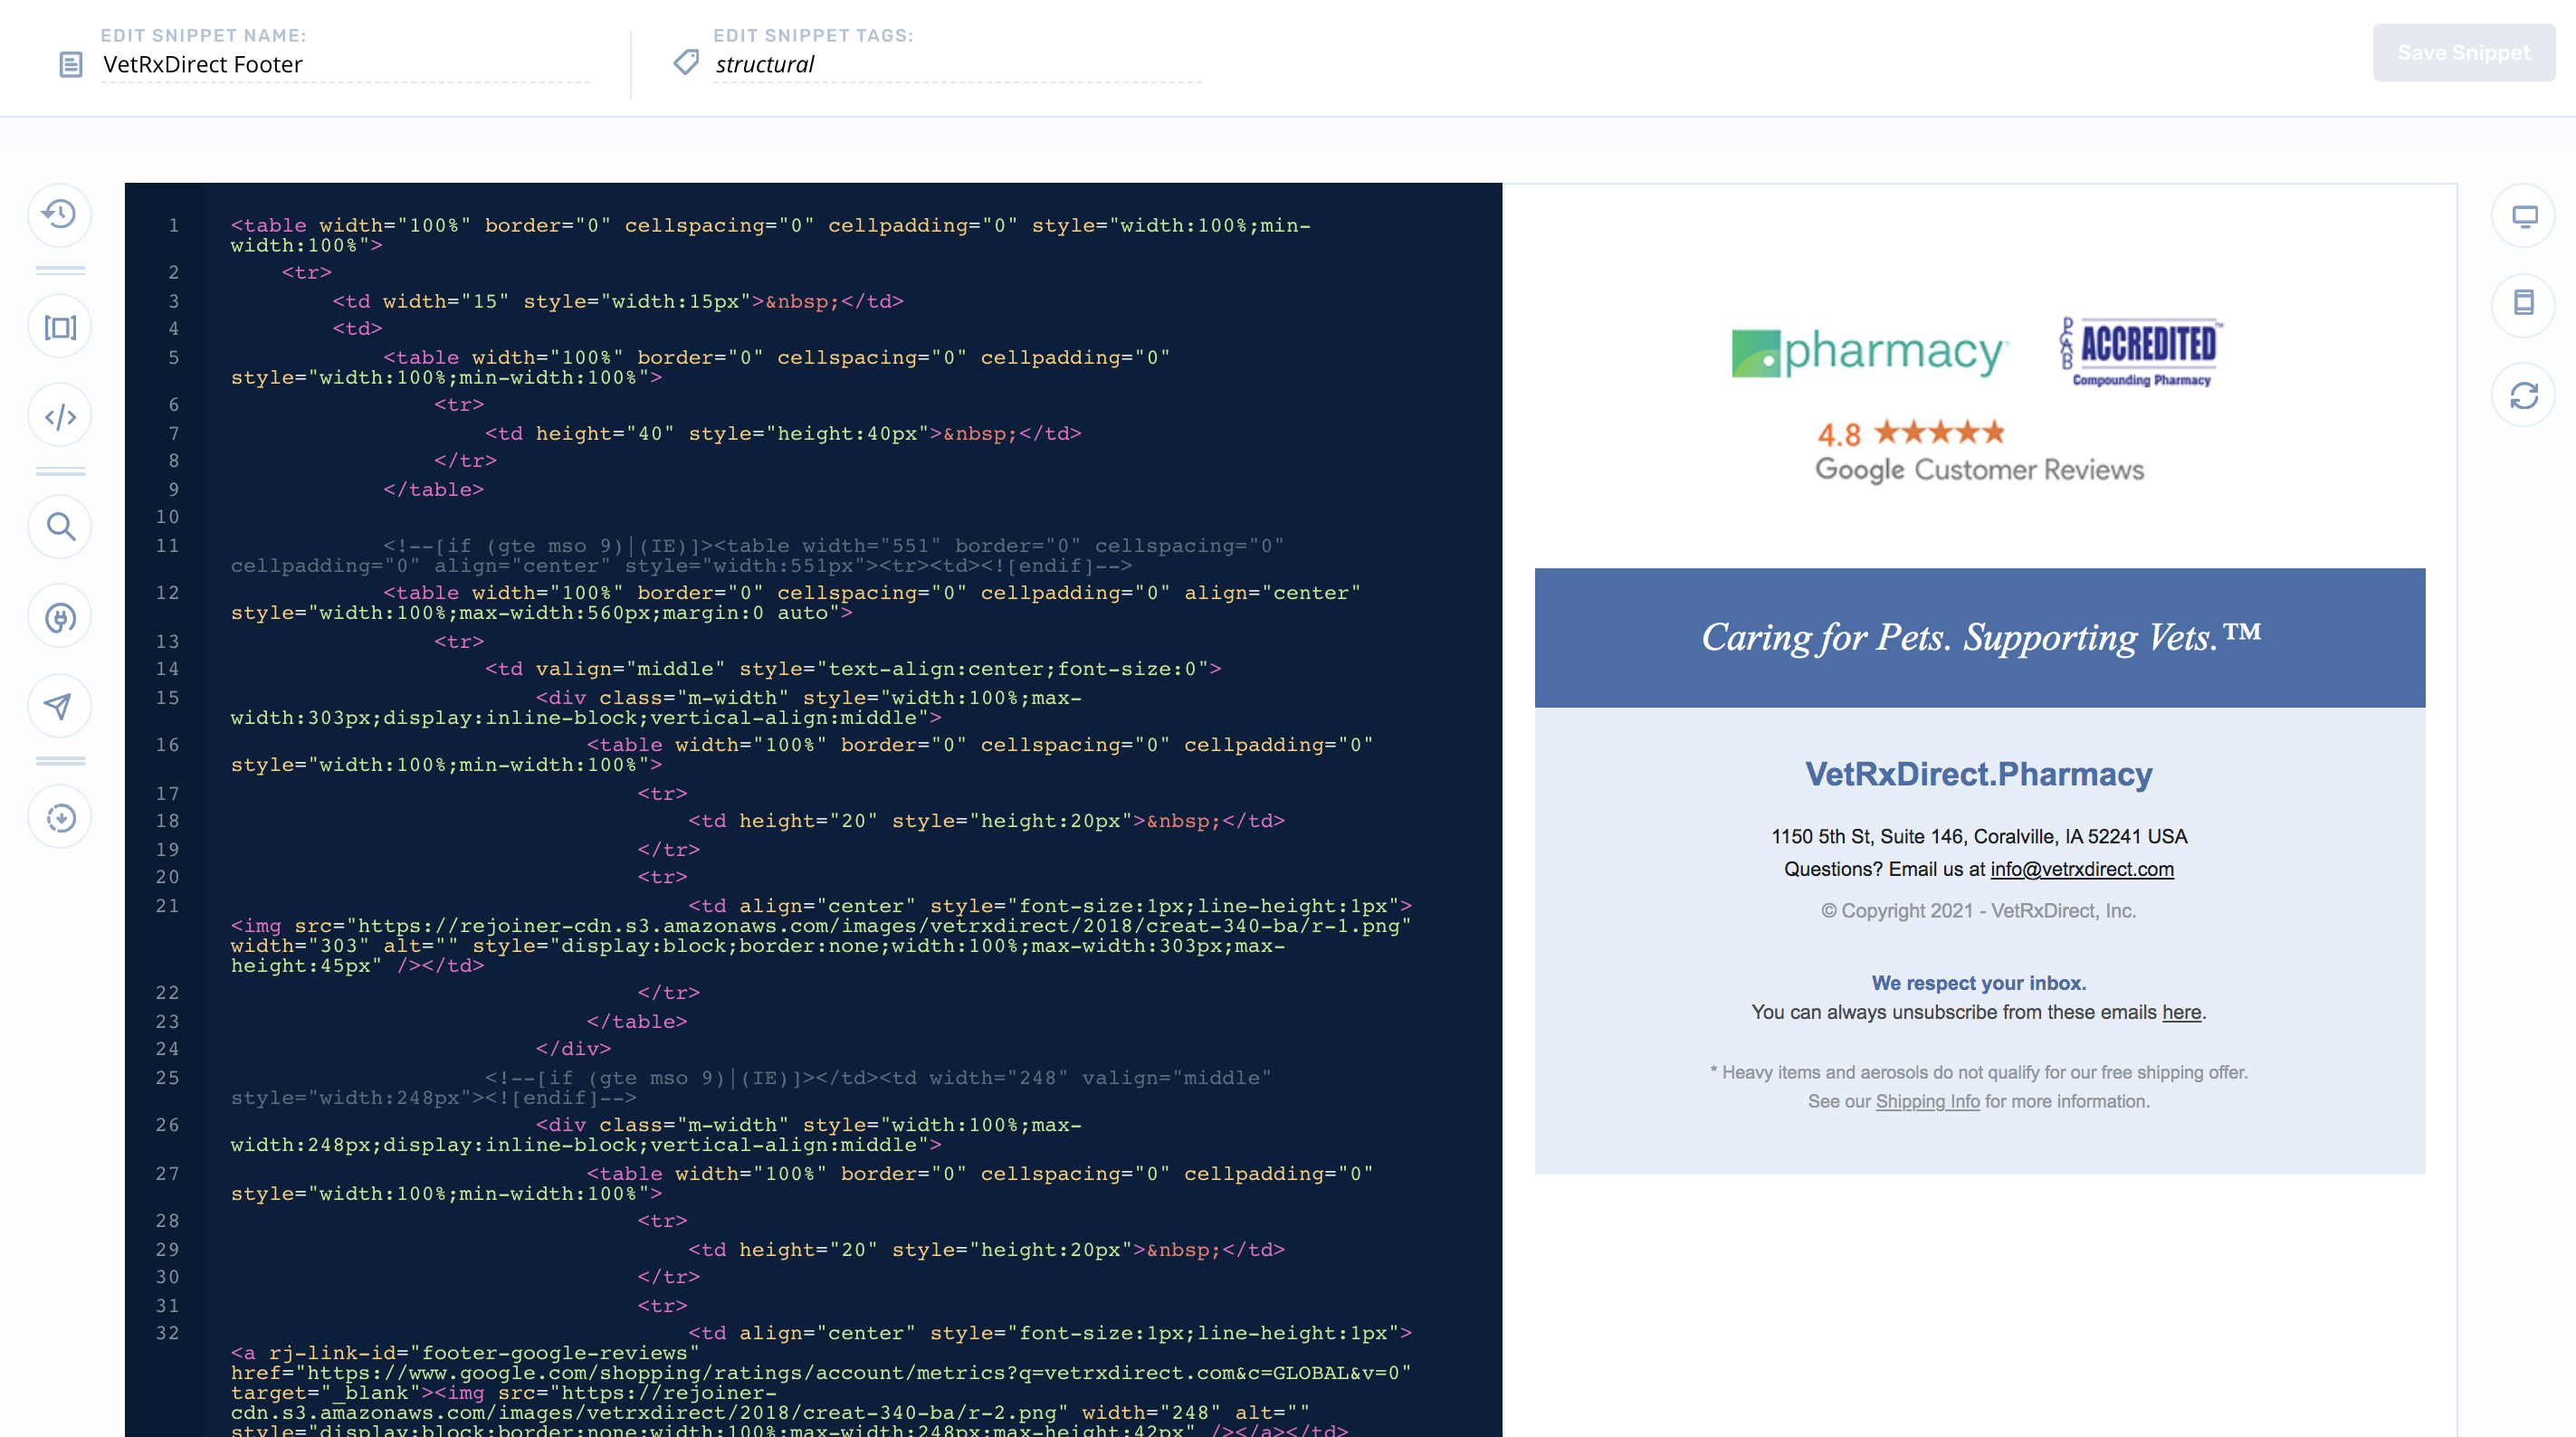
Next, name the snippet and start building. Currently, snippets must be coded using HTML/CSS. If you're not a developer, we recommend using the Drag and Drop Editor.
Leveraging Snippets
Once a snippet is developed, it can be injected into an email creative using the snippet's merge tag.
Advanced Editor
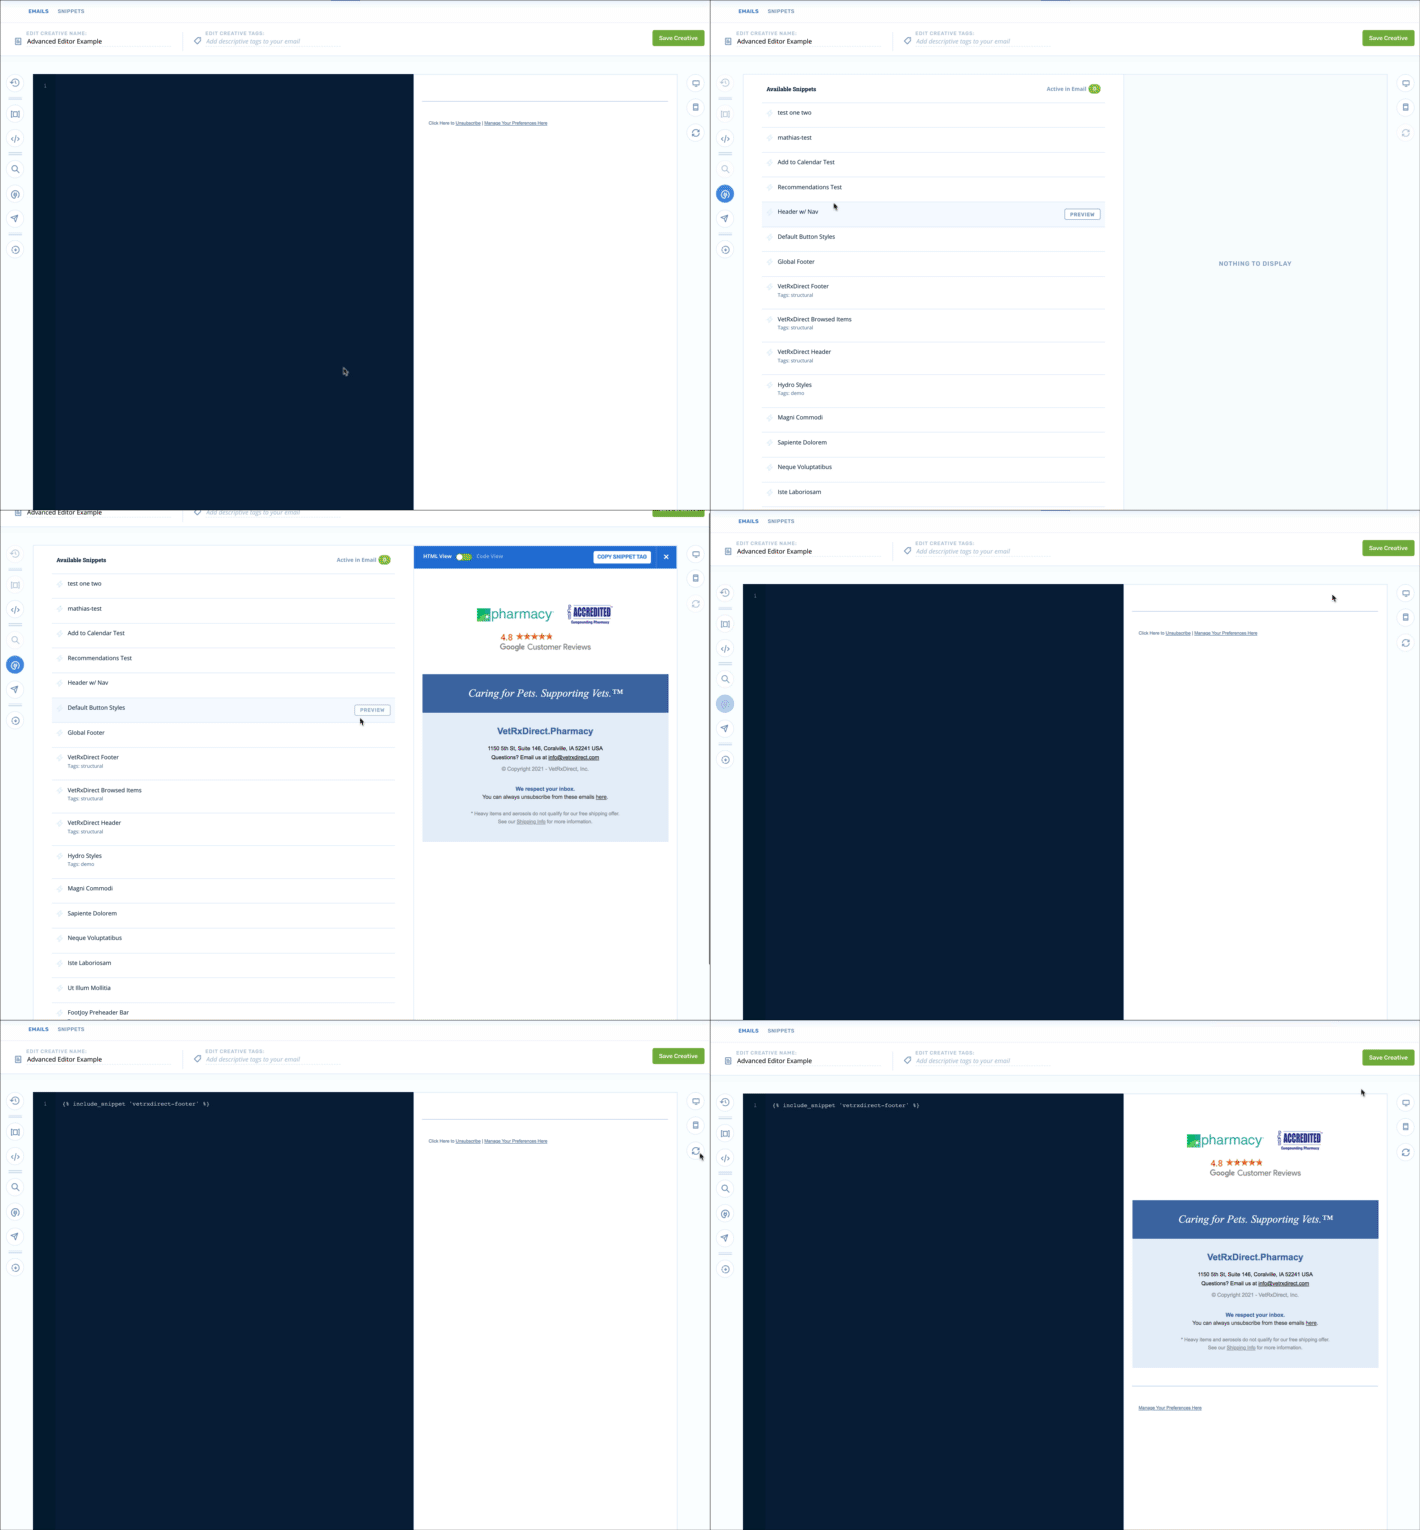
From the editor, start by locating the View Snippets icon:
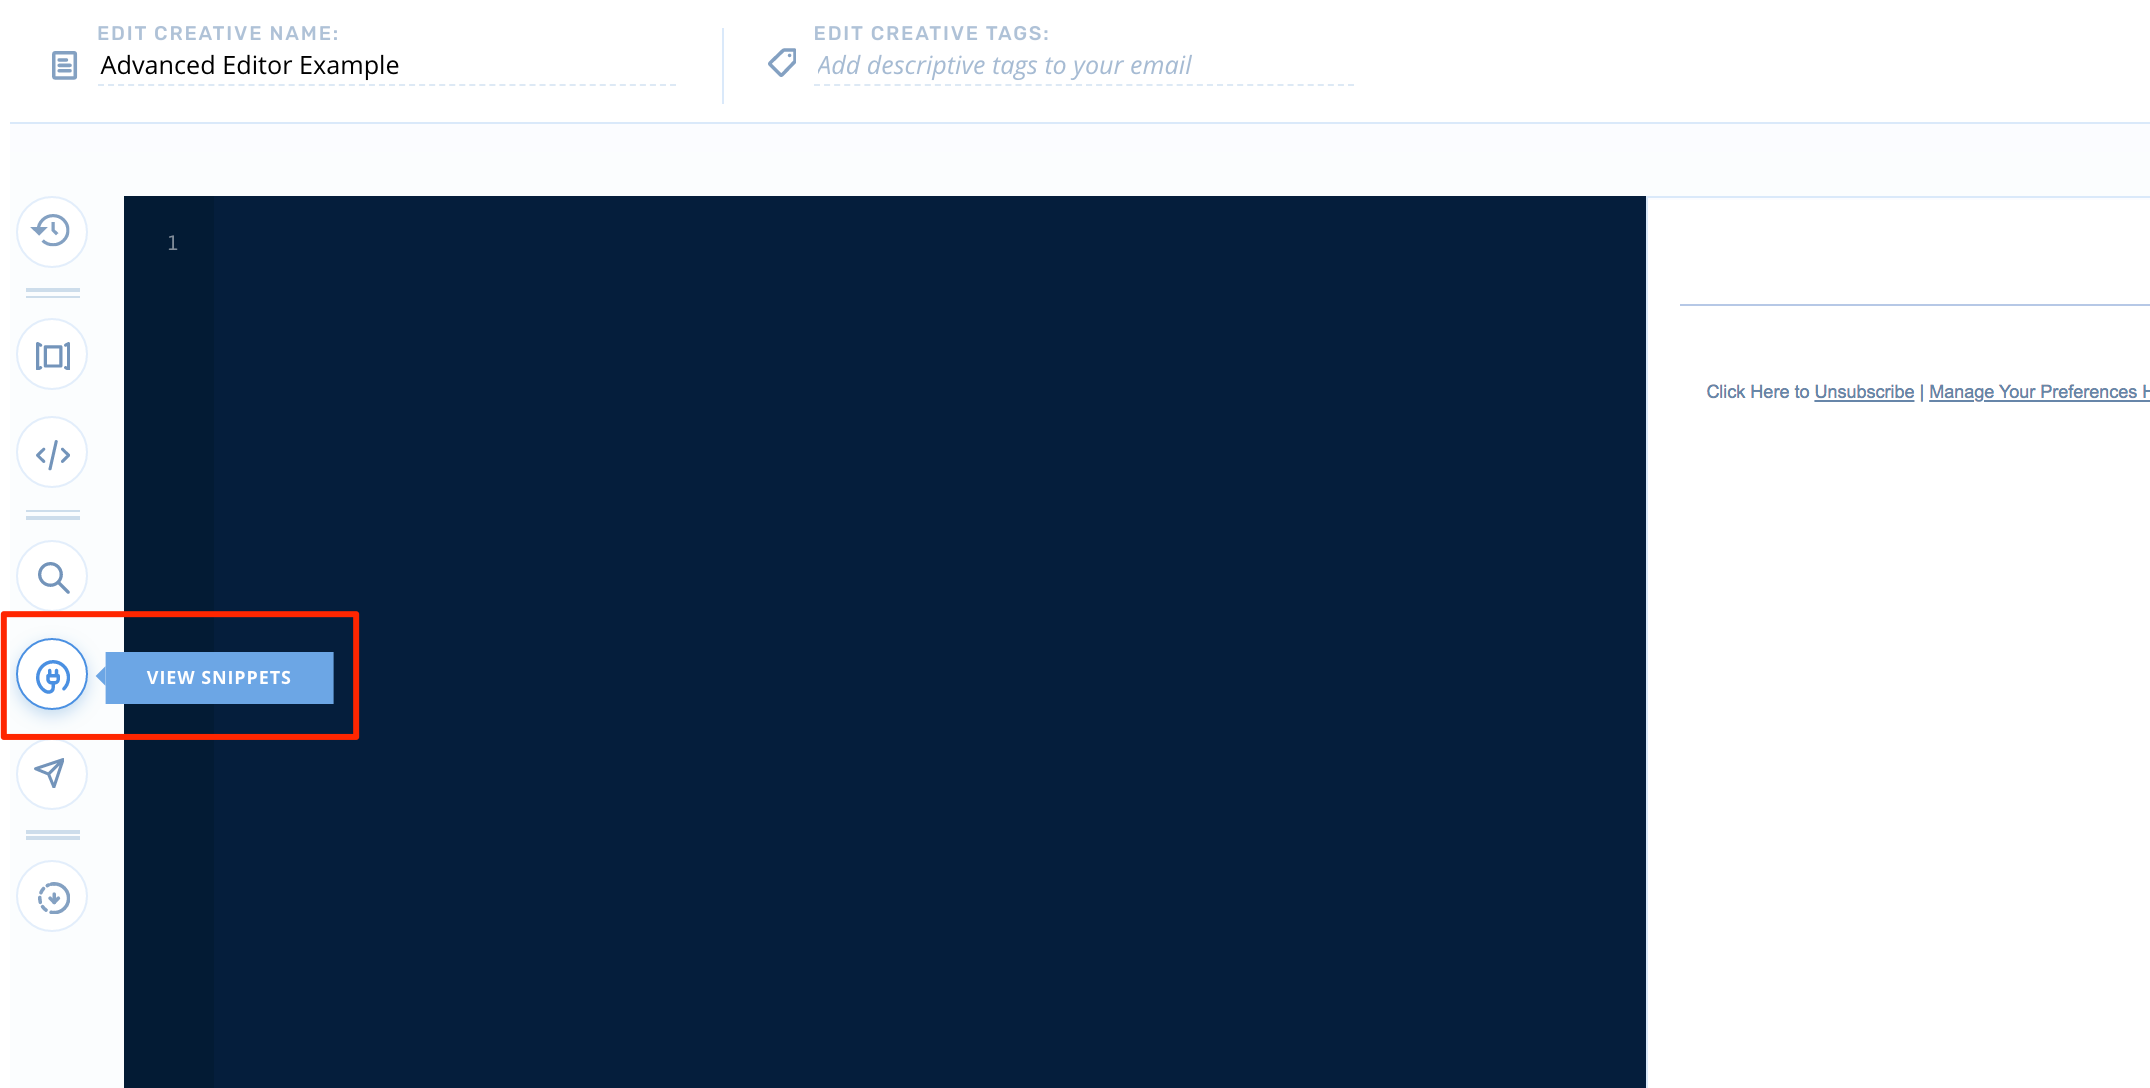
Click View Snippets, then find the snippet you'd like to inject into your template code:
Then click, Copy Snippet Tag.
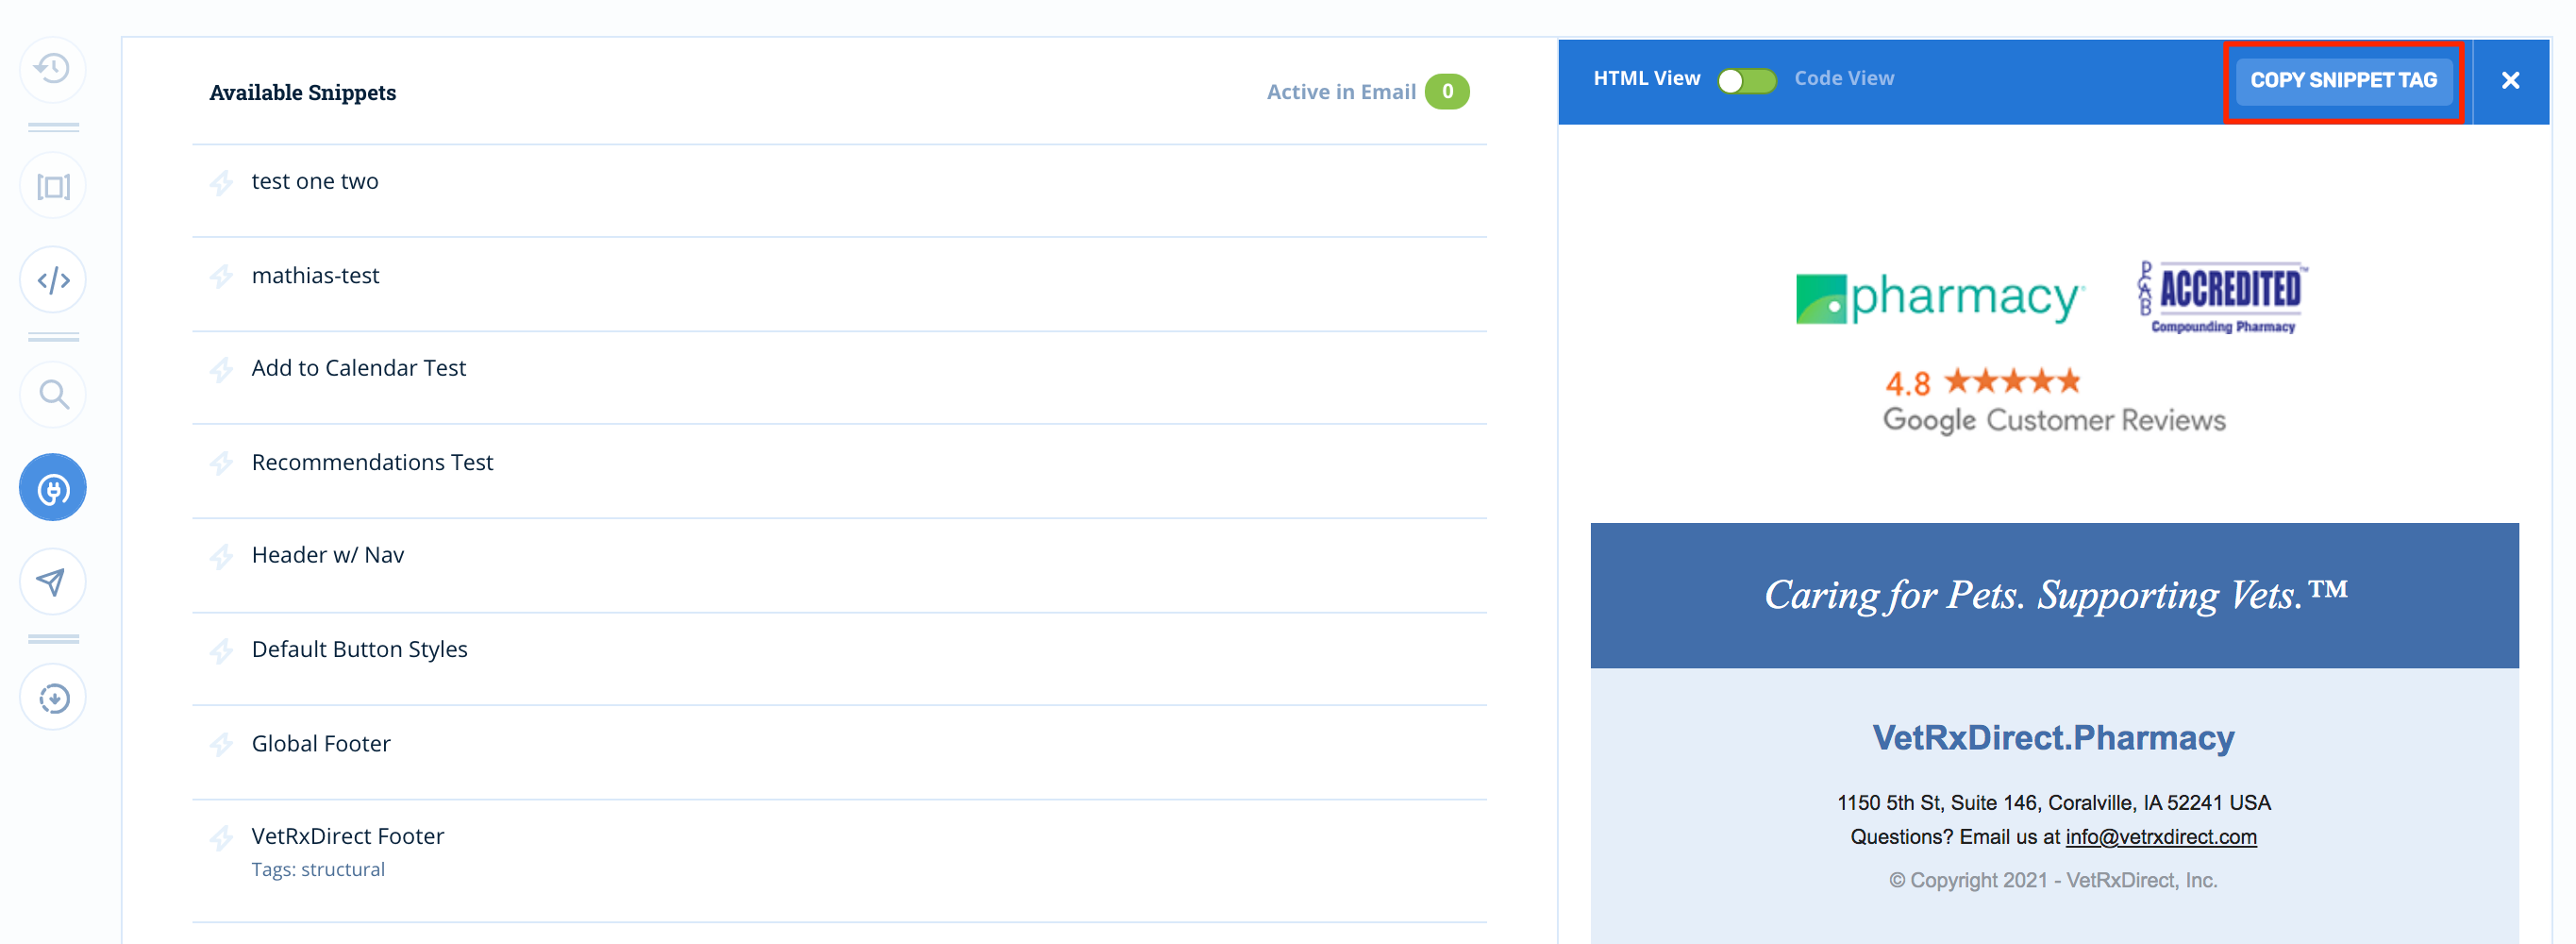
Once, you've got your snippet tag copied, you'll transition back into the code editor where you can paste your tag:
Drag and Drop
You can also access your snippet library from the Drag and Drop Editor using the same process.
Note: Snippets will not render while you're building in the drag and drop. They will render if you preview the drag and drop template.
Syntax
The merge tag syntax for snippets is:
{% include_snippet 'snippet-name' %}
Updated 4 months ago
