Lists Overview
In this article, we'll quickly introduce you to Rejoiner Lists. How to create or delete a List. As well as what type of customers are part of a List. In Rejoiner, you can have as many Lists as you'd like. Lists are static and hold customers that have been added to a List either manually or automatically (Journey actions, or our API).
Creating Lists
-
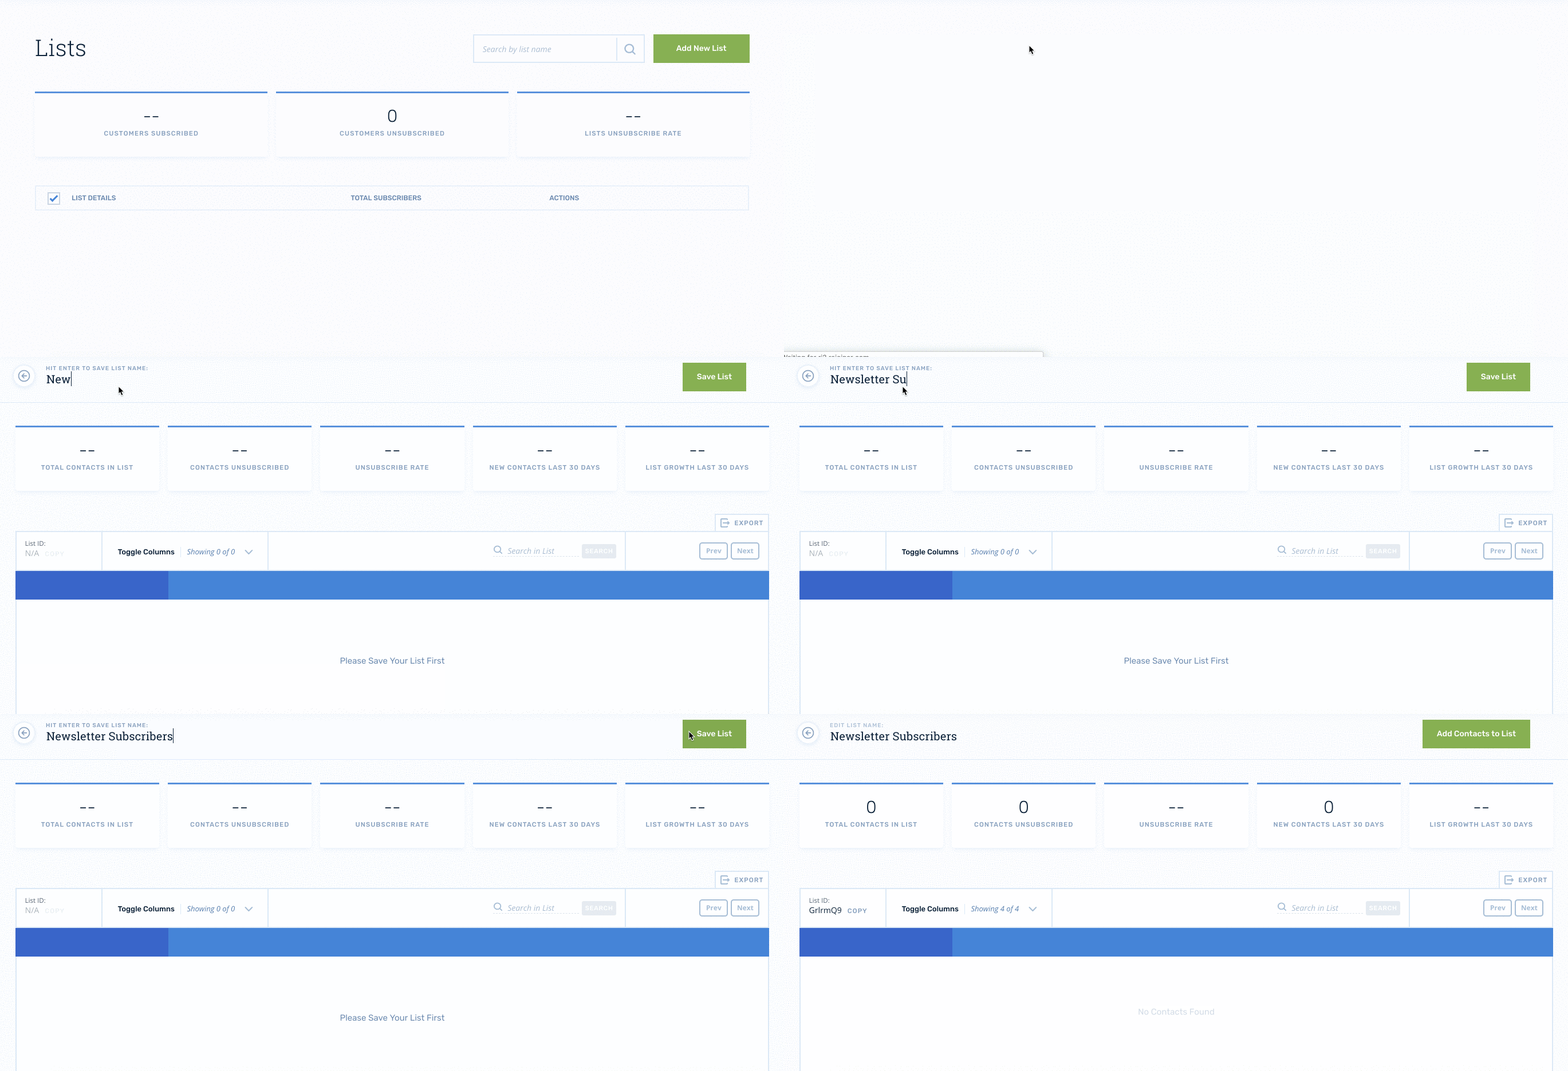
Click the Lists link in the nav.
-
Click the green Add New List button in the upper right corner.
-
Name your List and either hit enter or click the Save List button.

Now that you have your List, you can add customers to it via our API or manually.
Deleting a List
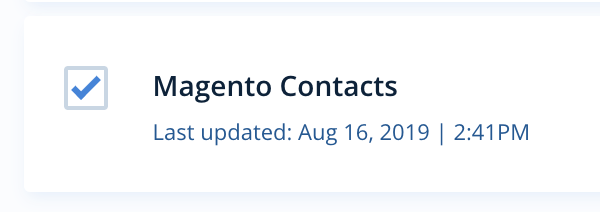
- You can delete a List by selecting it in your main Lists page:

And then clicking on the Delete Lists orange button:

Or by clicking on the trash icon in the List row:

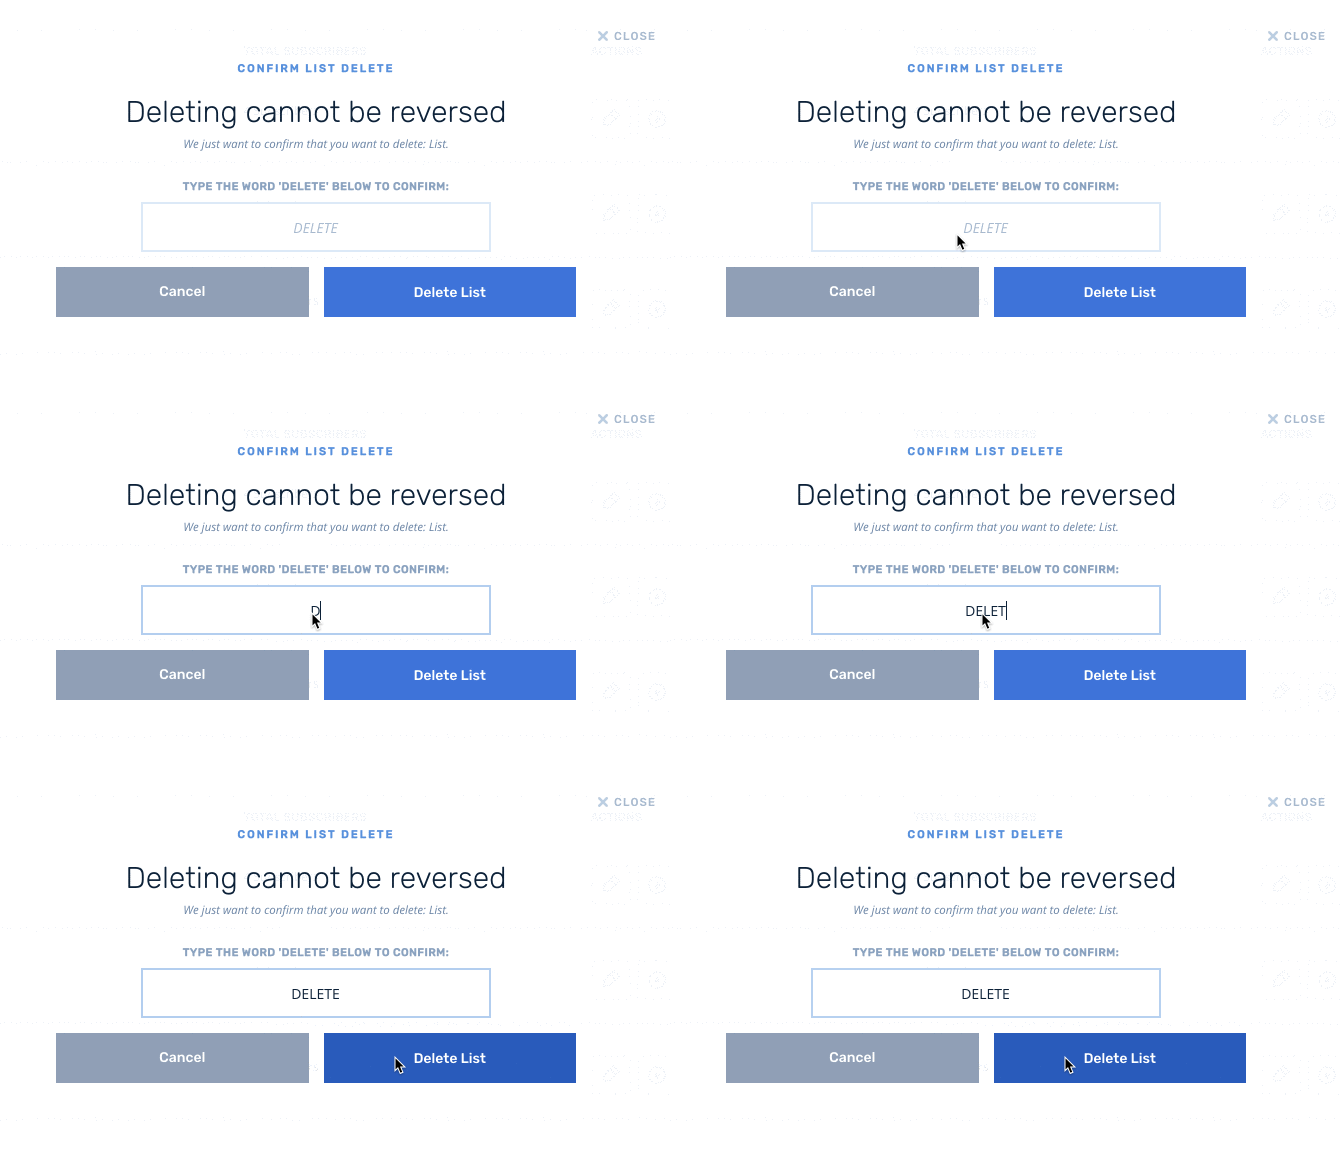
- Note that once you've deleted a List, it is not possible to retrieve it. Thus, the app will ask you to confirm the delete action.

Once you've confirmed it by typing the words DELETE, the List will be removed. This doesn't mean that the customers on the List are gone. It just means that you've removed the List that was putting them in a collection.
Finding a List ID
Lists have unique identifiers. You can use a List ID for things like pushing data to a specific List via our API. You can find a List's ID inside the List you want to use:\
\ 
Customers in Lists
Your Lists can have subscribed, opted-in, and unsubscribed customers. We define the difference between these below.
Subscribed Customers
A customer who has the status of subscribed is someone who has opted in to receive your marketing.
You can add subscribers via our API or by adding them manually on a one-to-one basis or via a CSV import. We encourage you to only import subscribers who have given you explicit permission.
Opted-In Customers
An opted-in customer is someone who has explicitly given permission to be marketed to. You can have customers opt-in by adding an opt-in link in your emails.
Unsubscribed Customers
An unsubscribed customer is someone who has previously received your marketing from you but has opted out.
Unsubscribed customers can be part of a List, but they can also be customers who are not part of any List. All customers who unsubscribe will be part of your unsubscribed list.
List Actions
Adding Customers
You can easily add customers to a List by importing a CSV, or by manually adding one or a few customers at once.
Unsubscribing Customers
-
Search for the email address of the customer you want to unsubscribe.
-
Once you have found the customer, select them.
-
Then click on the unsubscribe action.

You will now see that the customer row has a different styling from the others noting its unsubscribed status.
Resubscribe Customers
You can resubscribe a customer in a List when, for example, they may have been unsubscribed by mistake, etc.
-
Search for email address of the customer you want to resubscribe.
-
Once you have found the customer, select them.
-
Then click on the resubscribe action.

You will now see that the customer row has normal styling noting its subscribed status.
Deleting Customers
-
Search for email address of the customer you want to delete.
-
Once you have found the customer, select them.
-
Then click on the delete action.

Your customer has now been removed from the List.
Deleting a customer from a List just removes the customer from the List, not from your account.
Updated 4 months ago
