
Magento 2
This extension supports the latest version of Magento 2.0. Download the extension here.
Installation Notes
The Rejoiner Magento Extension has been tested with the latest versions of Magento 2.0. We also support almost every major one-page checkout extension.
Installing via Composer
Magento 2 Rejoiner extension can be installed with the aid of the following command
composer require rejoiner/module-acrNext, you will then want to run the command below which will install Magento 2 Rejoiner Extension:
composer updateLastly, run the command below to upgrade your Magento 2 database:
php bin/magento setup:upgradeInstalling by Copying Code
Please note that you should be logged in as a user with permission to write to your Magento web server docroot. Typically, it may be the root (highly not recommended) or web server user.
Perform the following actions to install your module:
- First run:
cd <your Magento install dir>/app/code- Create a vendor directory and module directory:
mkdir Rejoiner
mkdir Rejoiner/Acr
cd Rejoiner/Acr- Next, run the following commands to extract the downloaded file to the module directory:
unzip rejoiner_<module version>.zip- Next, enable the
Rejoiner_Acrextension:
magento module:enable Rejoiner_Acr- Lastly, save the changes you've made to the
/app/etc/config.phpfile and close the editor and then run the following command:
php bin/magento setup:upgradeConfiguring the Extension
Follow the steps below in order to configure your Magento Extension with your Rejoiner Domain Settings.
-
In your Magento admin, go to Stores > Configuration.
-
First, in the left-hand nav click Sales > Checkout. You should see eCommerce Lifecycle Email by Rejoiner as a checkout configuration variable. Click and open the Rejoiner config settings.
-
In your Rejoiner account, go to your Account Settings. You will want to copy your
Site ID,Domain, andAPI Secret -
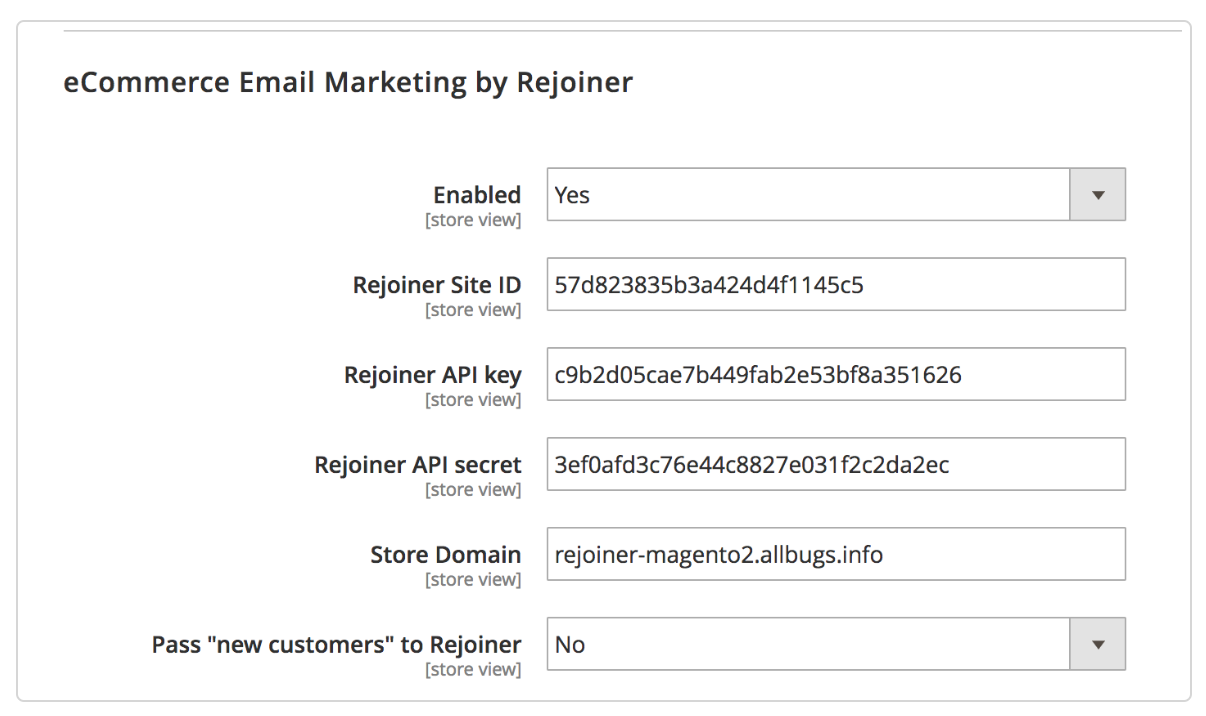
Head back to your Magento config and enable the Rejoiner extension by setting drop down to
Yes.
Then, enter your Rejoiner Site ID, Domain and API Key, and lastly, click Save Config in the upper right-hand corner of the Magento admin.
Generating Dynamic Promo Codes
The dynamic promo code feature enables you to generate unique, 1-time use promo codes for use in your Rejoiner campaigns.
-
From your Magento admin, build a new price rule by clicking Marketing > Cart Price Rule.
-
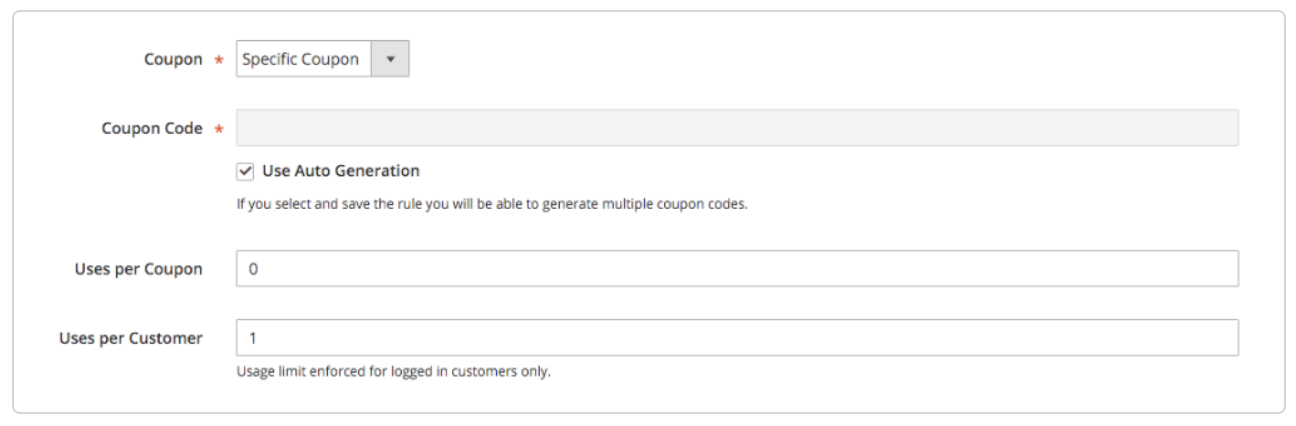
Configure the new rule. Set the Coupon field to Specific Coupon and the Coupon Code field to Use Auto Generation. Set your desired Uses per Coupon and Uses per Customer.
-
From your Rejoiner Plugin settings inside of the Magento admin, set the Generate Coupon Code field to Yes, and select the price rule you just built from the drop-down.
-
Inject the unique promo code into your Rejoiner creative using the following template tag:
{{ cart.promo }}
Appending Google Analytics Query Strings to Cart Regeneration URLs
Enables merchants to append Google Analytics & custom query string parameters onto the cart regeneration URL.
-
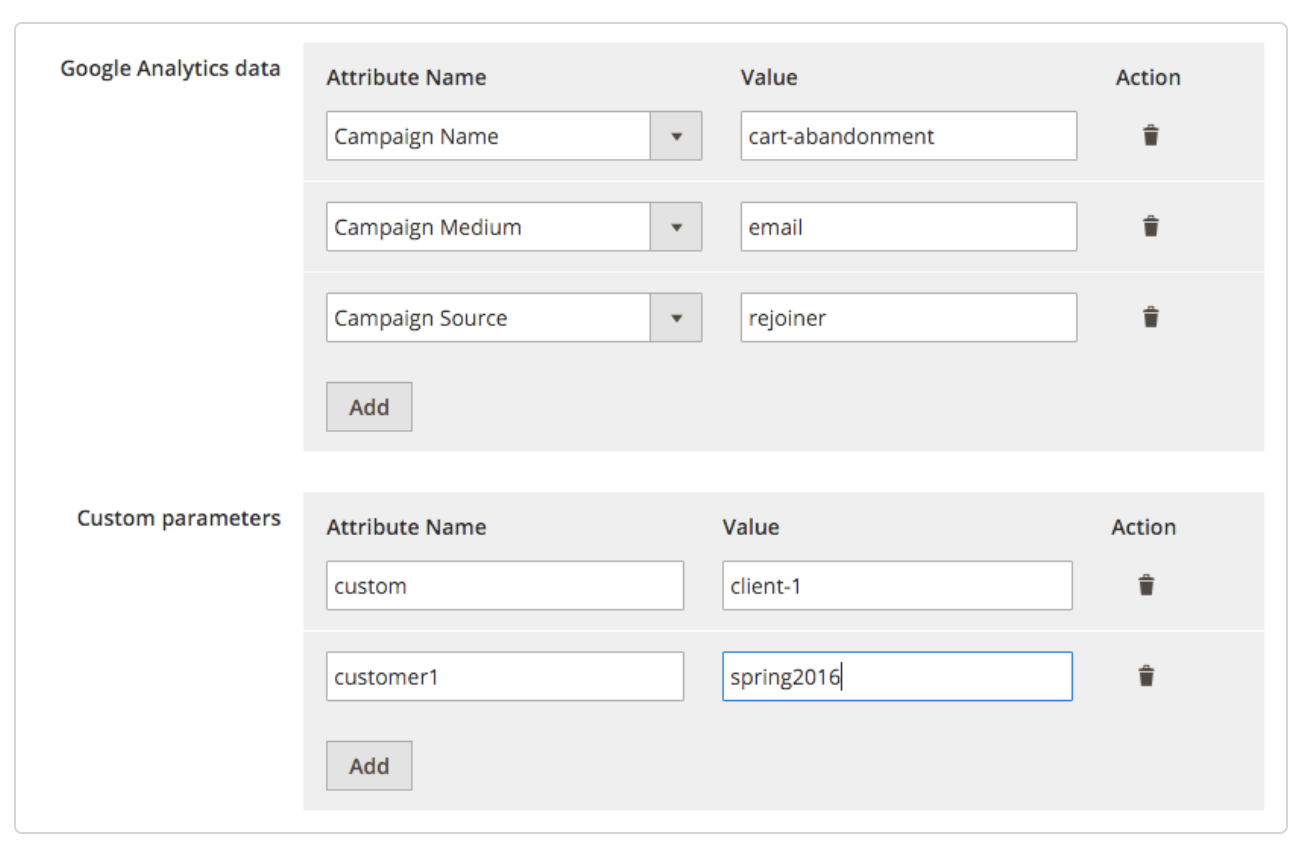
Within the Rejoiner config settings in Magento, scroll down to Google Analytics Data
-
Configure your query string attributes. Campaign Source, Campaign Medium & Campaign Name are required attributes for Google Analytics tracking. You may also add custom query string parameters using the Customer Parameters table below.
Adjusting Product Image Sizing
You may want to change the size of the product image we inject into your emails.
In some cases, you may be passing very large images and those can get your emails to go to SPAM. In other cases, you may be passing very small images which may show very pixelated in your emails. Thus, please ask your designer and email developer what the optimal image dimensions are so that you pass us the exact image size you need.
-
Go to your Rejoiner Plugin settings inside of the Magento Admin.
-
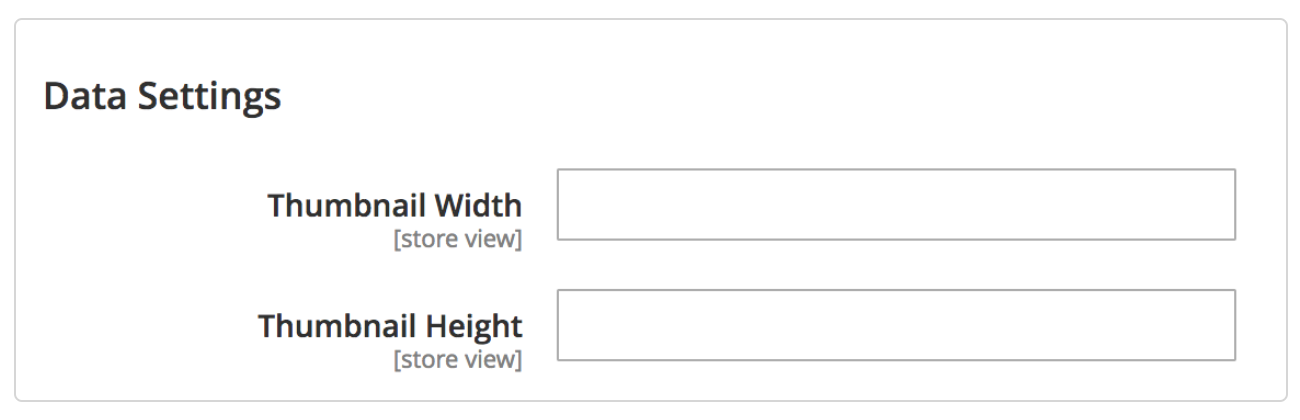
In your Data Settings, you will need to configure the optimal image size you want to pass us by setting the thumbnail width and thumbnail height.
- Lastly, click on Save Config to save your settings.
Sync Purchasers to a Rejoiner List
This feature enables merchants to push all customers who complete a purchase to a specific Rejoiner List.
List RequiredYou will need to create a List for these customers in your Rejoiner account before employing the steps below.
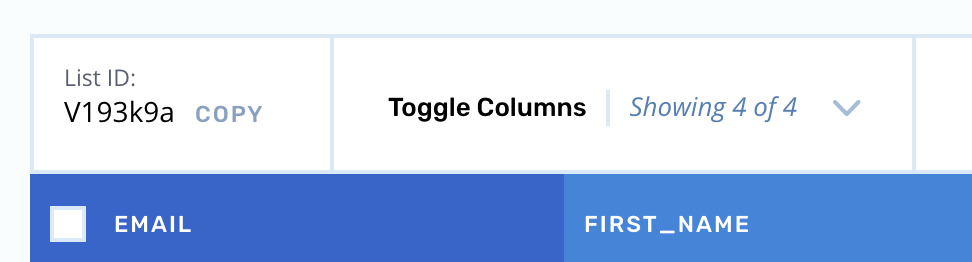
- Go to the List you'd like to push converted customers to and copy your List's ID
-
Head over to your Magento Admin > Stores > Configuration.
-
Over to the left side you should see a Sales category with several options. Click on Checkout to continue.
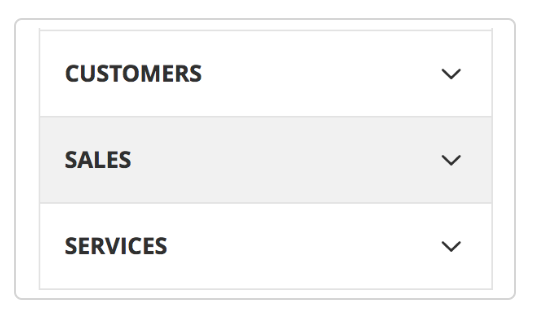
- You should be able to see a section called eCommerce Lifecycle Email by Rejoiner, with the options below.
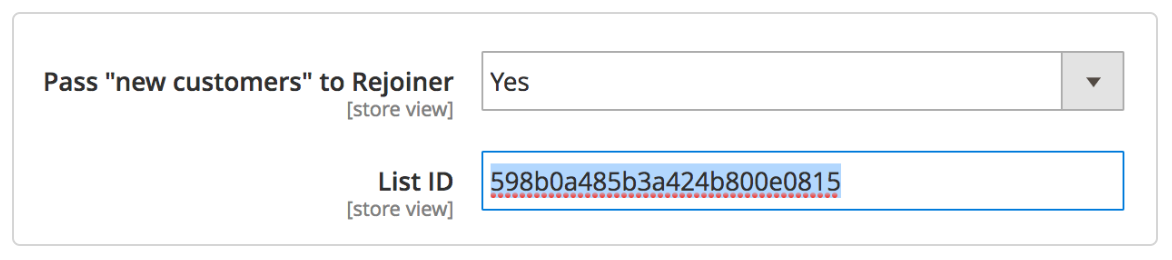
- You will notice that one of the options says Pass "new customers" to Rejoiner. Use the dropdown on that option to select Yes. You will then see a blank input appear for the List ID you copied. Paste your List ID in the input.
- Click on the Save Config button to save and apply your changes.
At this point, the email address of all customers who complete an order on your site will be pushed to your Rejoiner list.
Tracking Accepts Marketing Preference
Our integration with Magento 2 enables merchants to push all customers who opt into your marketing to be sent to a specific Rejoiner List. This will then allow you to send against that list in order to respect your customers' wishes.
Enabling this feature creates a simple checkbox for your customers to opt into your marketing. The checkbox then gets added into several parts of your store in order to be able to maximize this feature.
List RequiredYou will need to create a List for these customers in your Rejoiner account before employing the steps below.
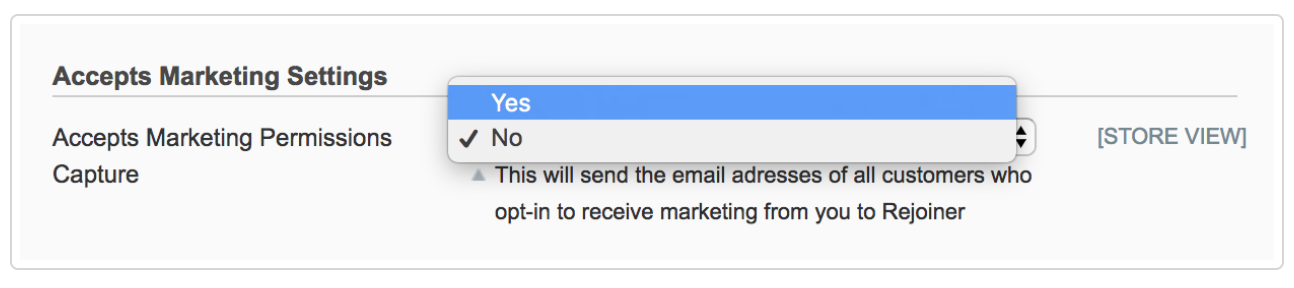
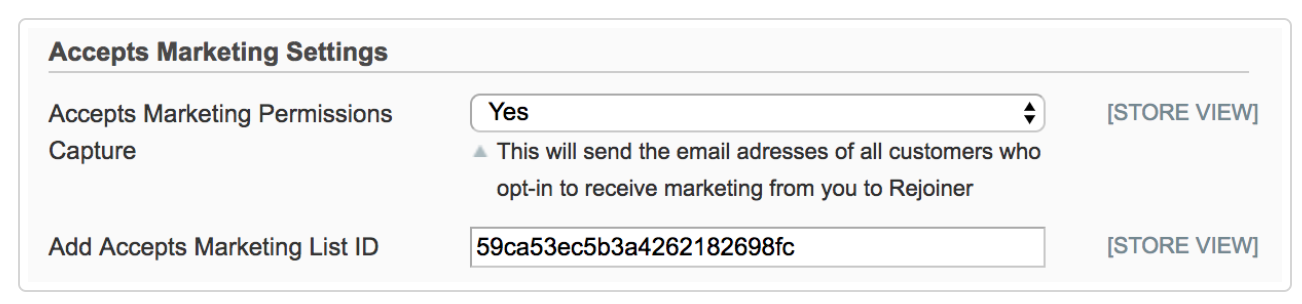
- First, you will need to enable this feature in your Rejoiner extension by selecting "Yes" in the Accepts Marketing Permissions Capture option.
- Next, you will need to add the List ID of the Rejoiner List you want to use in the input of the Add Accepts Marketing List ID option like so:
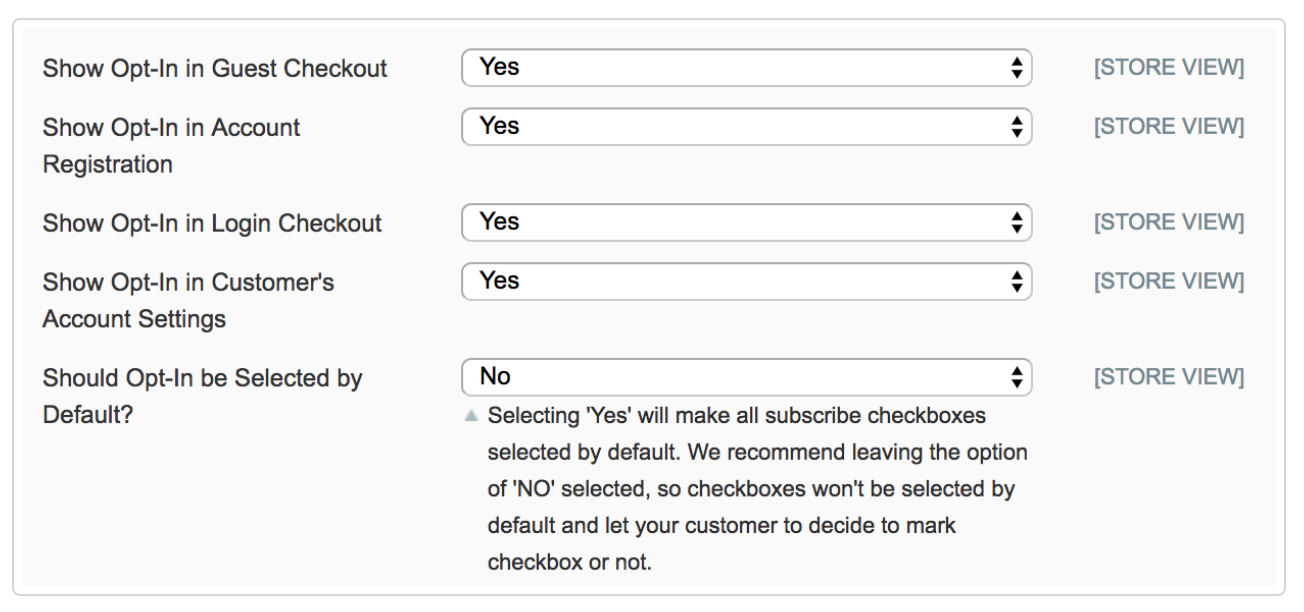
- Next, you will se a couple of other options below the List ID input. We recommend the following set up:
- Lastly, you will need to add the copy that will appear along the checkbox. This copy should be clear enough for your customers to know what they are opting into.

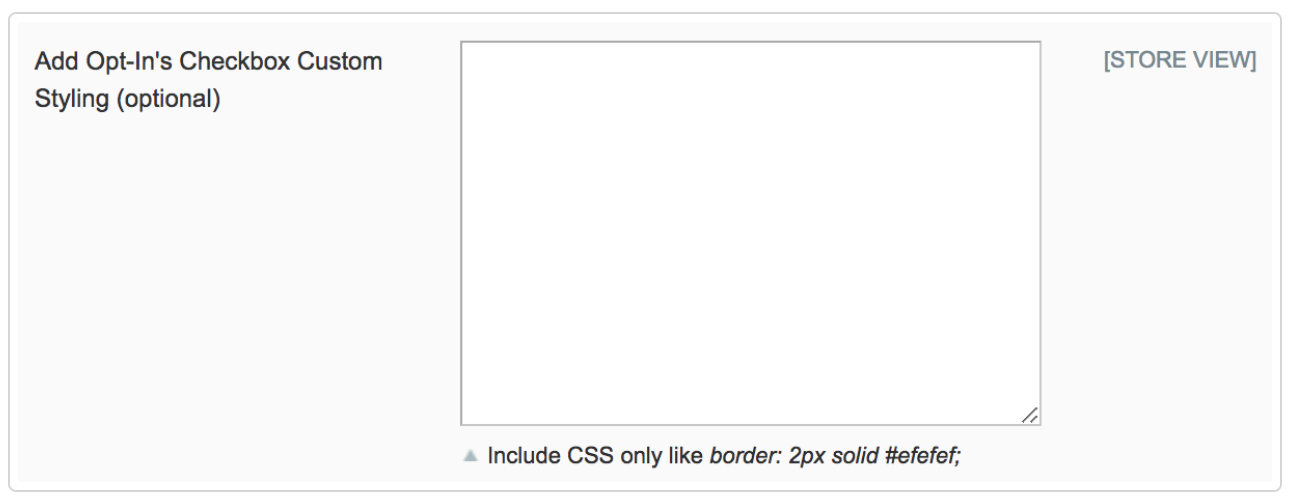
- You will see some extra options that are related to the styling of this checkbox.*
Feel free to add extra CSS to modify this checkbox in the following option.
If you want to style the checkbox directly in your store's styles, you can specify a class for it in this option:

- Once you're done making changes. Click on Save Config to save all changes.
Importing Customers Who Accept Marketing
This feature enables you to check if a customer opted in to your marketing efforts via Rejoiner. The intention behind this feature is for you to be able to filter current subscribers that did not subscribe via Rejoiner's Accepts Marketing feature and create a CSV to import to your Rejoiner List.
Note that all this feature does is add a column to your subscribers table. This column then notes whether a customer was subscribed via Rejoiner's Accept Marketing feature or not.
To create a CSV of customers who did not subscribe via Rejoiner's Accepts Marketing feature, but who did opt into your newsletter at some point, we will need to filter these customers and then have Magento create a csv.
Steps to Follow:
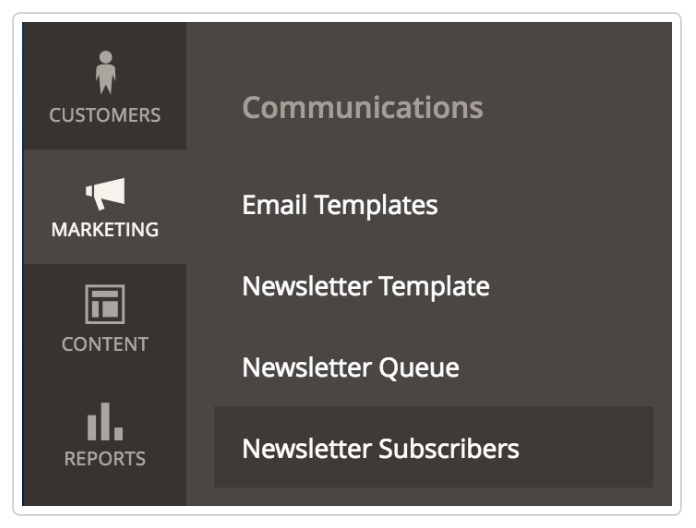
- Go into your Admin, then in the left nav look for Marketing and then click on Newsletter Subscribers.
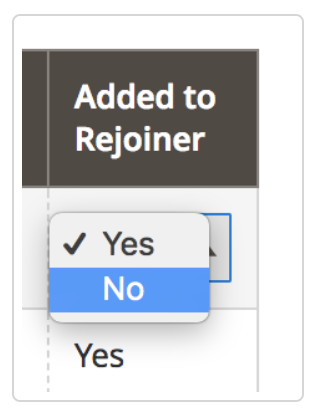
- To filter current subscribers not subscribed via Rejoiner, go into the Added to Rejoiner column and select "No" in the column's dropdown option.
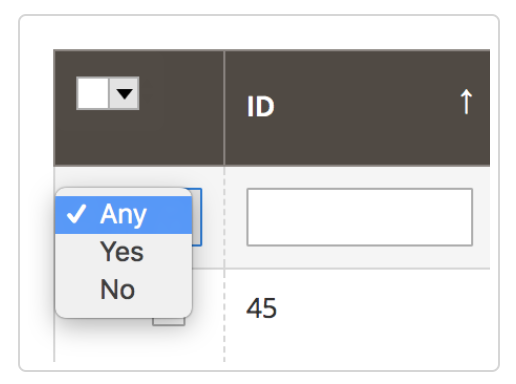
- Next, make sure that your Select All column's option is set to Any.
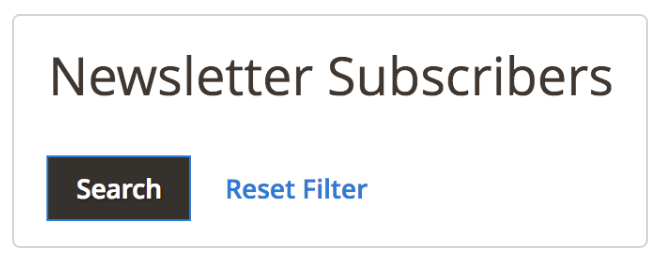
- Next, at the top left of your subscribers table, click the Search button so that Magento can find these customers in your subscribers table.
- The table should now show you a list of all matching customers:
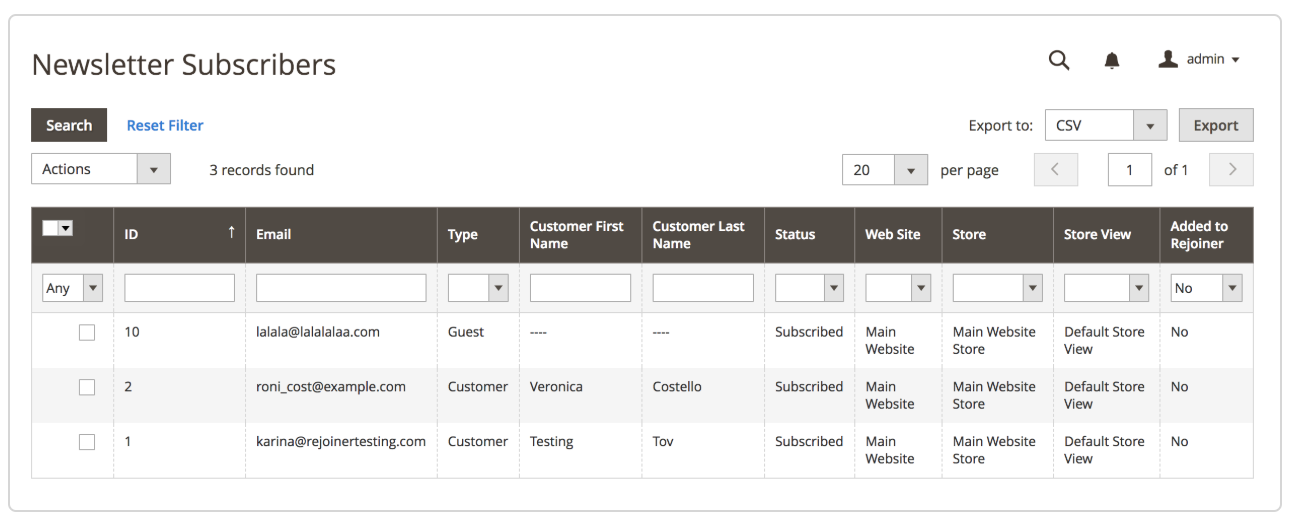
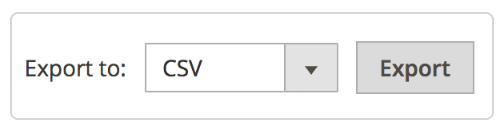
- Now, you will want to to the Export to option. Select CSV as the format and click on Export.
-
You should now have a CSV file in your browser's downloads.
-
Upload the CSV to your Rejoiner list.
NoteMagento likely added extra information to the CSV you exported. We recommend you open this CSV file in Google Sheets or a similar software and eliminate all these extra columns for a cleaner export.
Updated 9 months ago