New Customer Welcome
In this tutorial, you'll learn how to set up a new customer journey that triggers when a customer has completed their first purchase.
Strategy
This guide is focused on the operational aspects of configuring a new customer welcome journey in Rejoiner. If you're re-thinking your overall strategy, start with this resource:
Creative
You'll build your templates using the Advanced HTML/CSS Editor or the Drag and Drop Editor.
Configuring the Journey
First, click Journeys in the main navigation. Then, click Add New Journey.
Start by naming the Journey something like, "New Customer Welcome v1".
Then, select the Nth Conversion trigger:
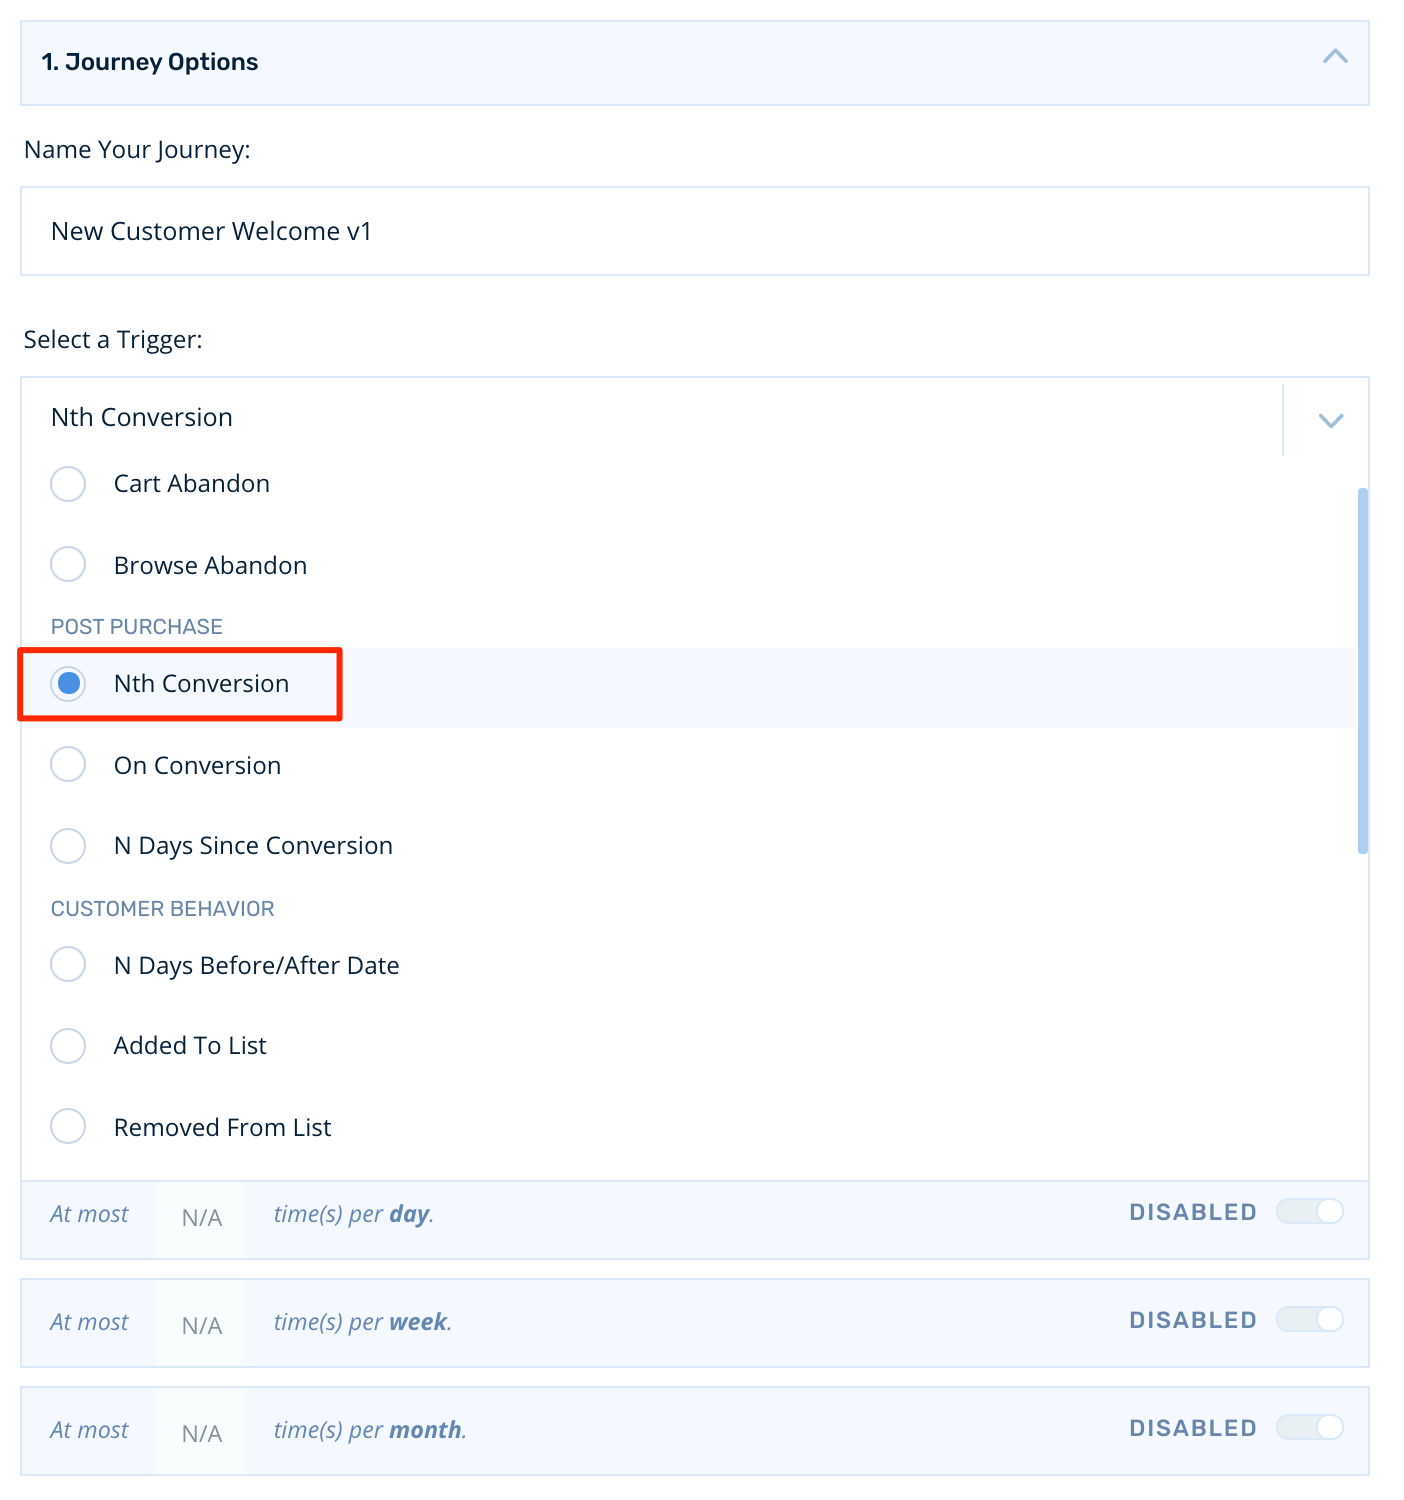
We're going to set the journey trigger on conversion N=1.

Conversion Rules
Most new customer journeys comprise of evergreen, brand-centric content that can be delivered regardless of future purchase behavior. For this trigger, we're going to allow the customer to continue their journey even if they return and purchase again while it's active:

Frequency Capping
Customers can only make their first purchase once, so frequency capping isn't relevant for this trigger.
Building the Journey
Targeting Your Audience
To start, click Add New Audience.
For new customer welcome journeys, we recommend starting with a Catch-all audience. This means that all customers who enter their journey will flow through the same audience.
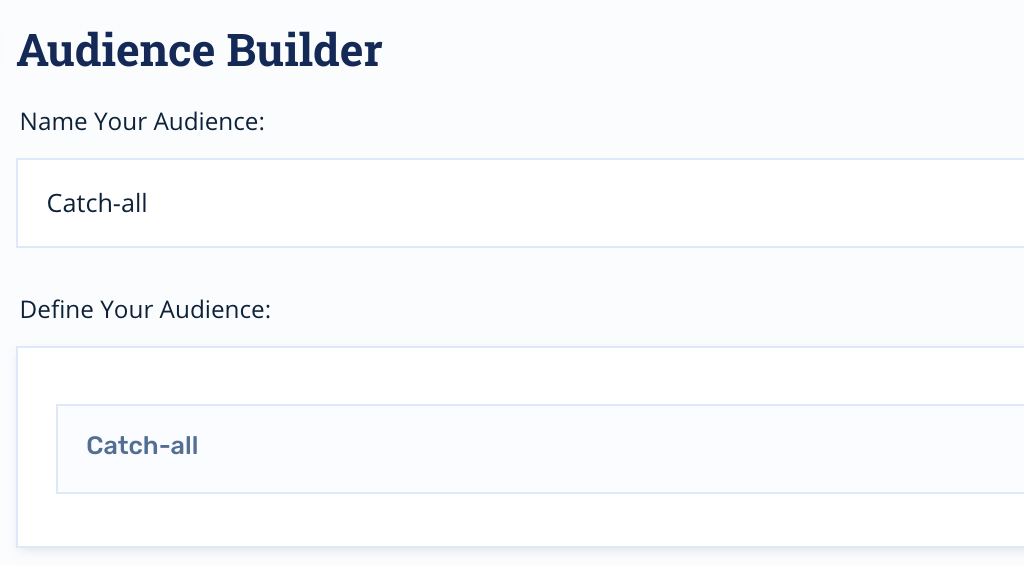
More advanced segmentation strategies involve segmenting new customers by what they purchased.
QA Audiences
If you'd like to test your journey prior to going live with customers on production, you can add an audience that is purpose-built specifically for QA.
Positioning Nodes
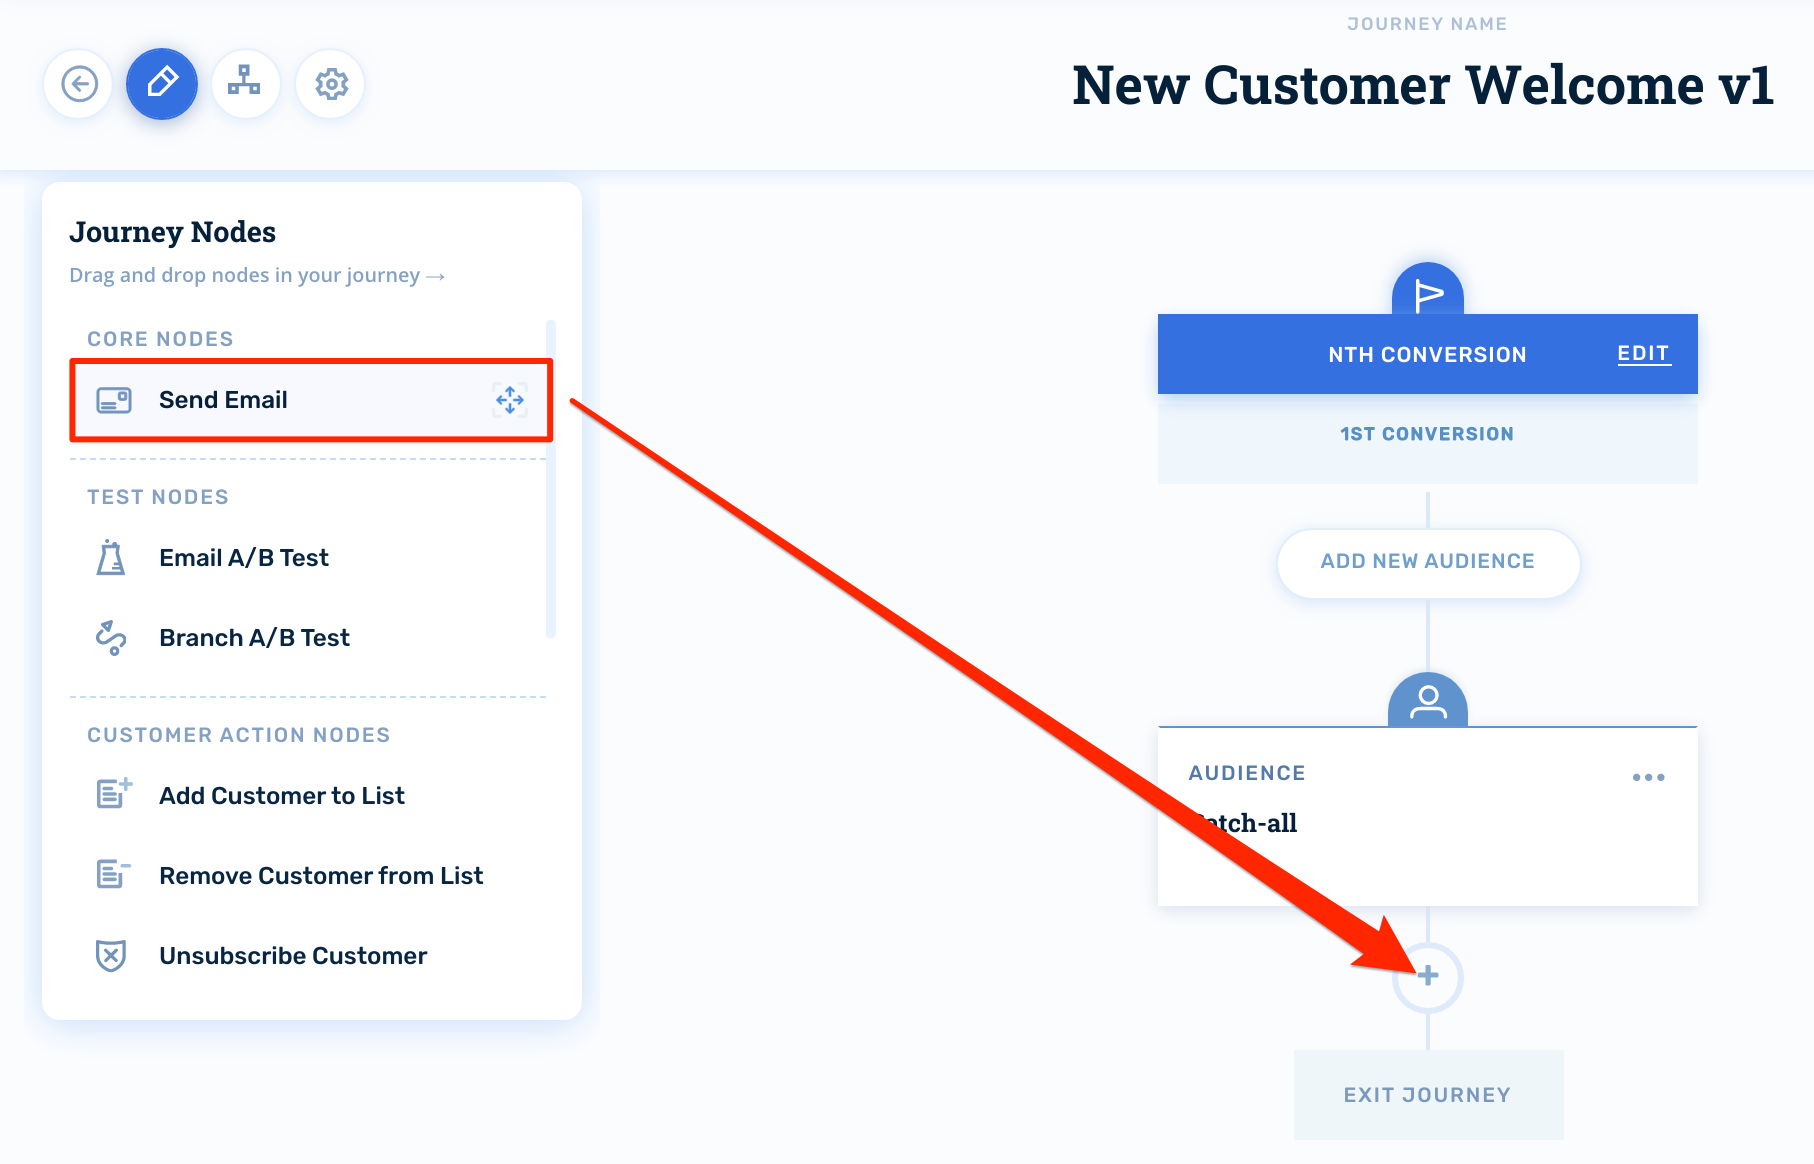
Now that our audience is set, let's set up some email nodes. Click the Journey Nodes icon, select Send Email and drag it into position below the audience.
Configuring Email Nodes
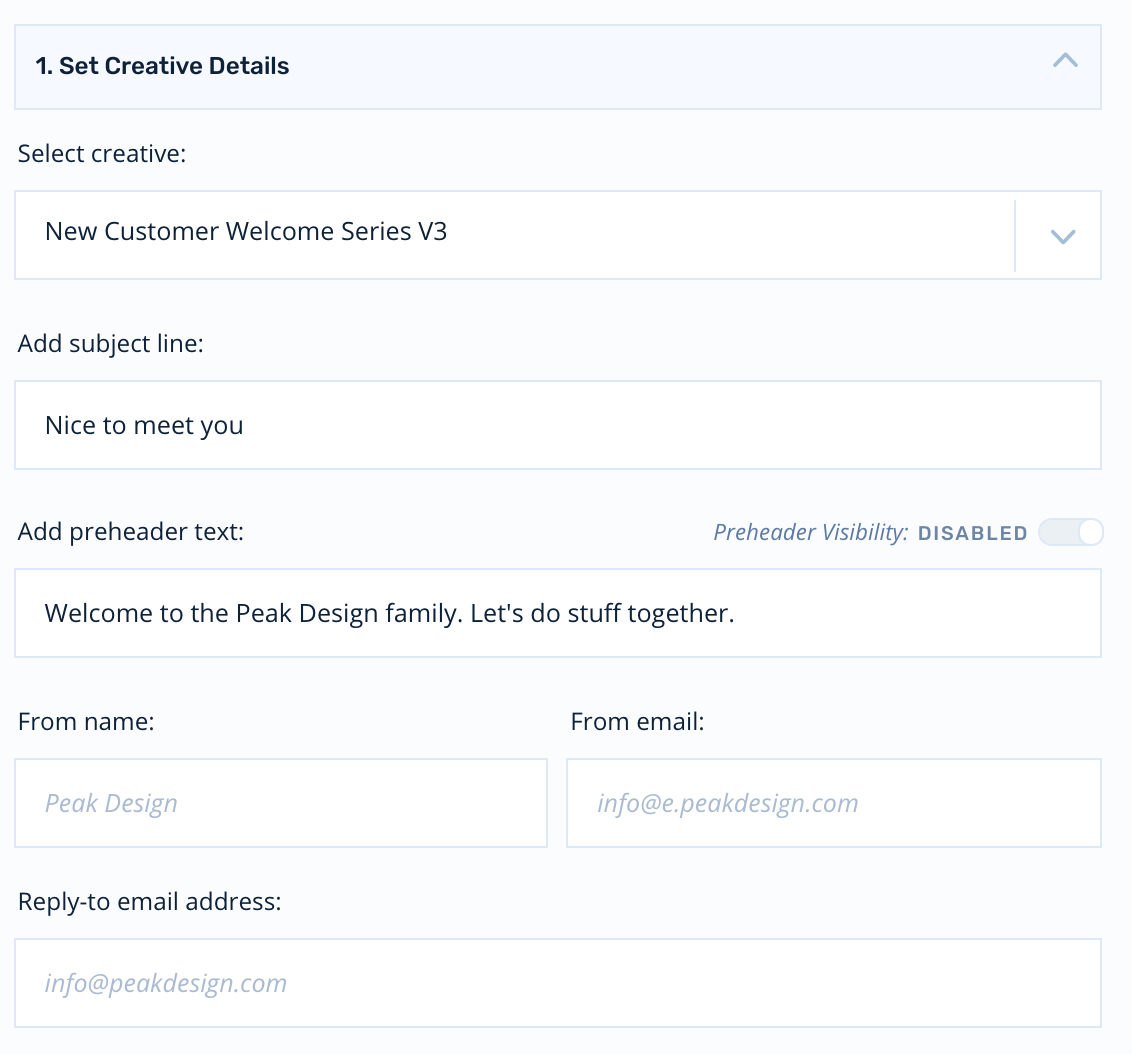
First, you'll select your creative. Then, you'll configure your subject lines and preheaders.
The email node will inherit the default sender information from your account, but you can override this on a per-email basis if you wish:
Wait Time
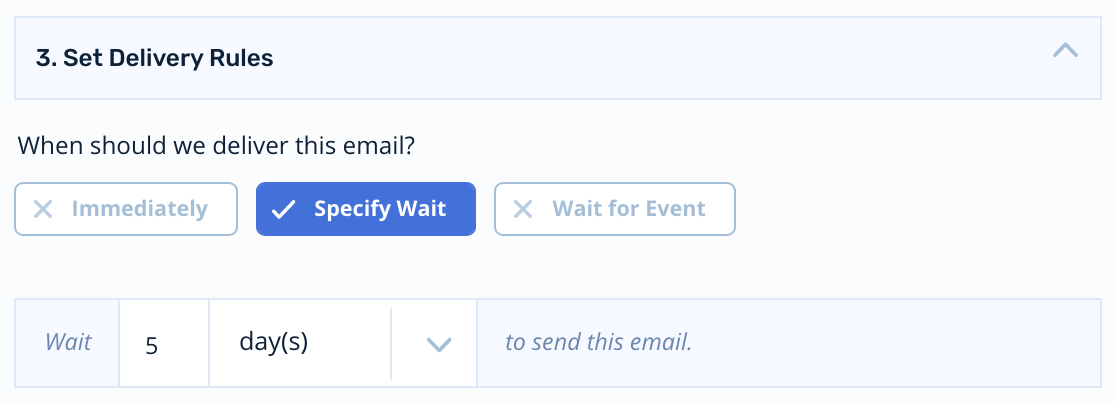
Since this is a one-step journey, we'll just need to set a wait time on the first email. This wait time determines when the node will process relative to the previous node.
So, if you set the wait time on the first email to a 5 day wait time, the node will process 5 days after the customer matches your audience filters:
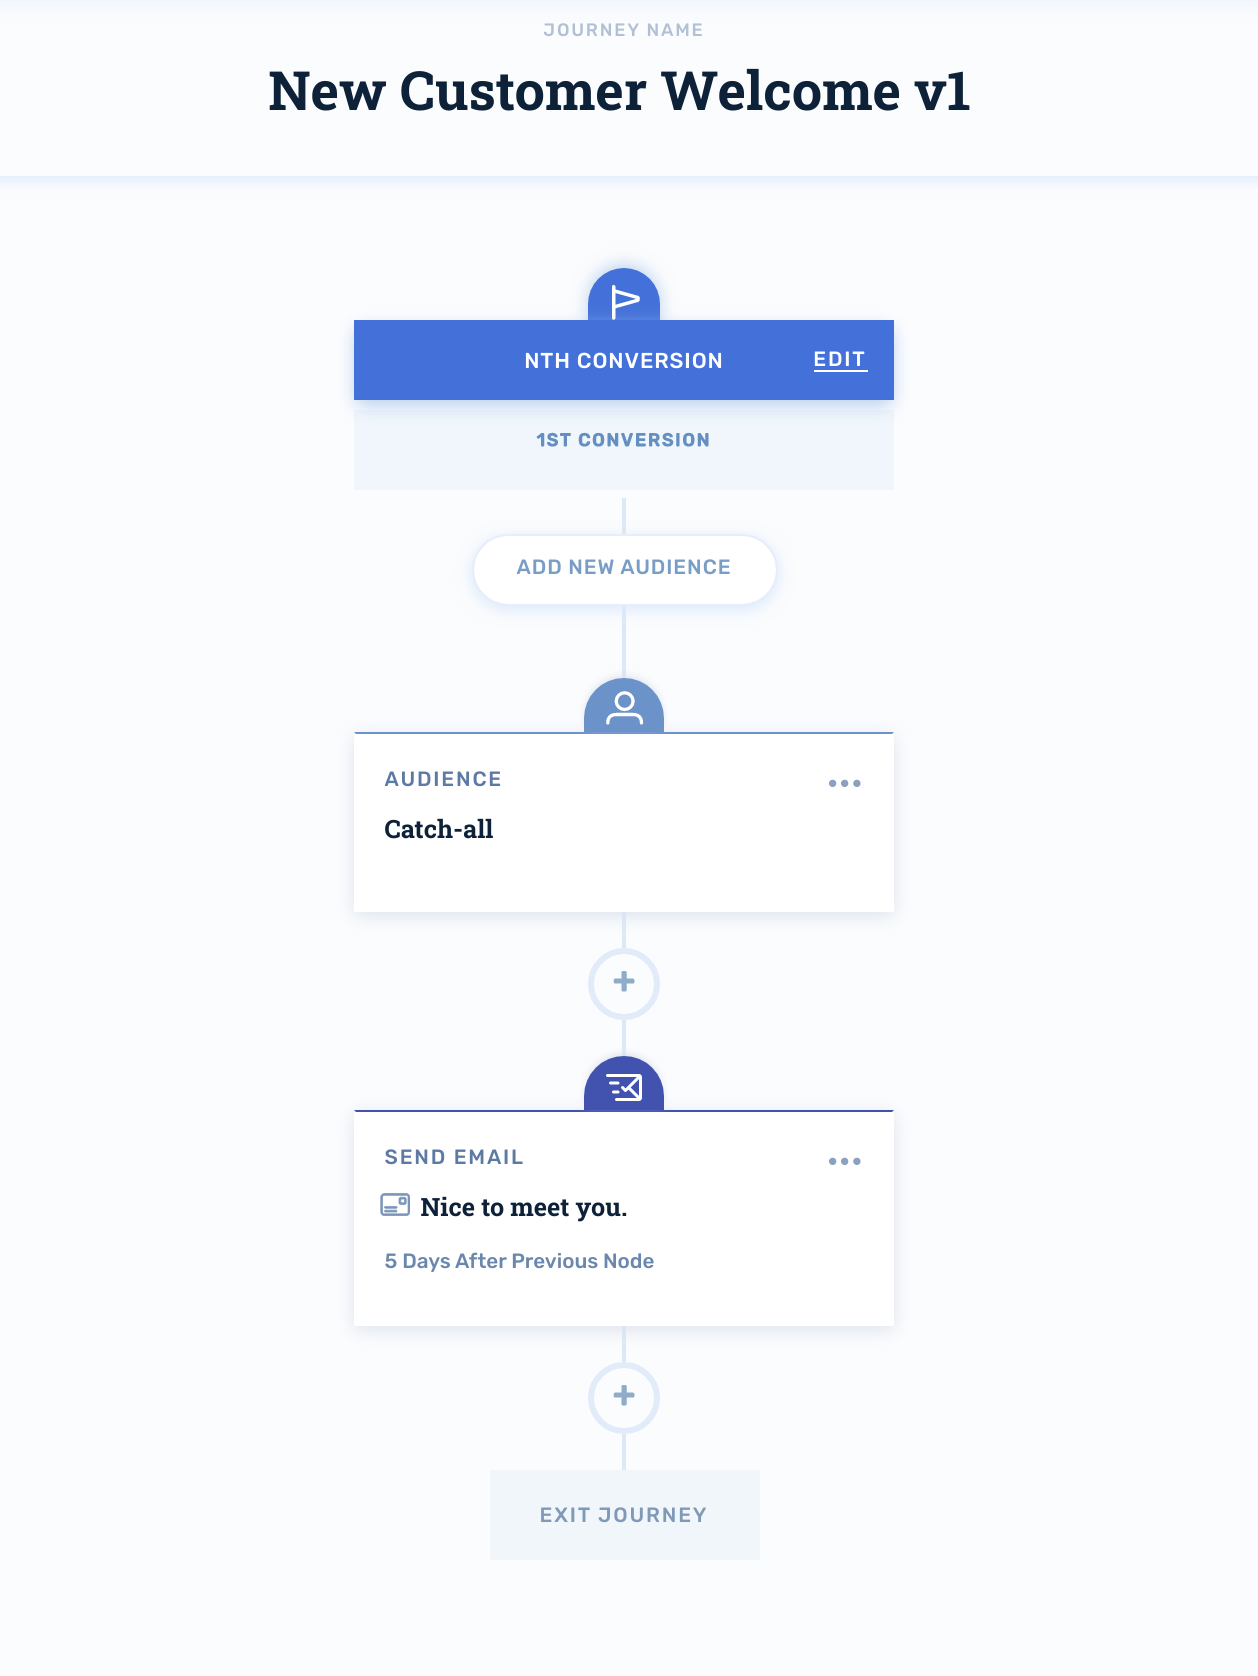
Once you've positioned the nodes and set your wait times, your new subscriber journey will look like this:
Activating the Journey
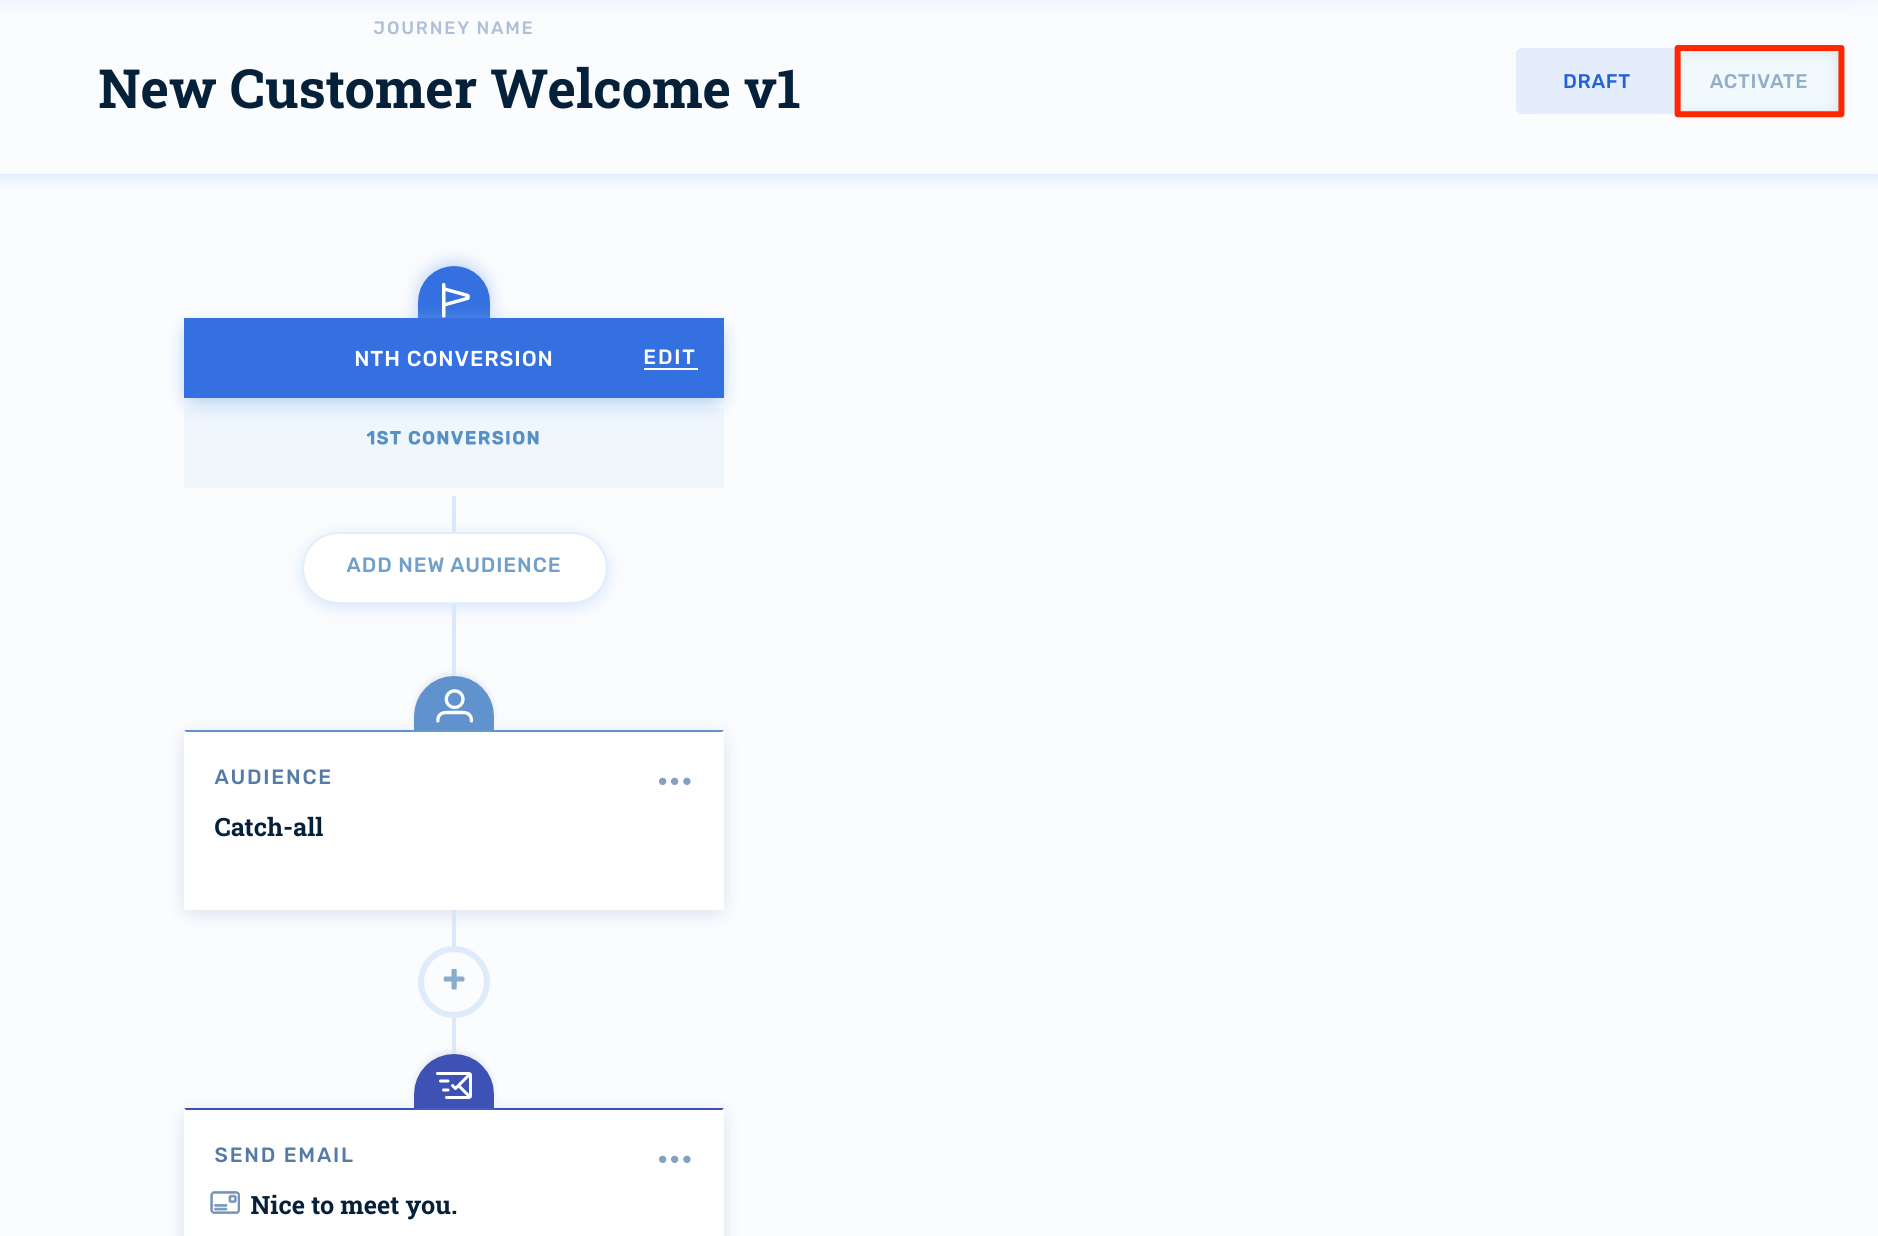
When you're ready to turn your journey on for production audiences, click Activate in the upper-right hand corner:
Updated 4 months ago
