
Updating Lists
You can add contacts to a list via different methods in Rejoiner. This guide will show you how.
To start, click on the Update List button at the top right corner of your list. This will trigger the following side navigation to appear with update options:
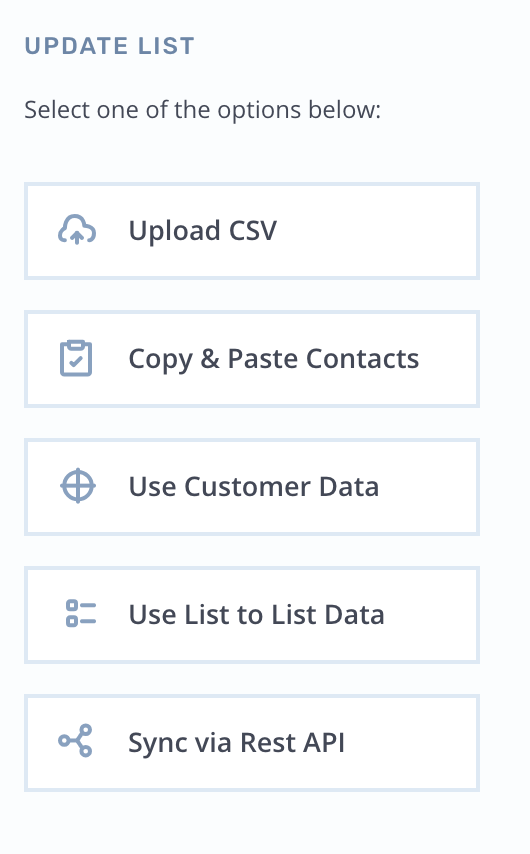
Uploading via CSV
To use this option please select the following from your Update List side navigation options:

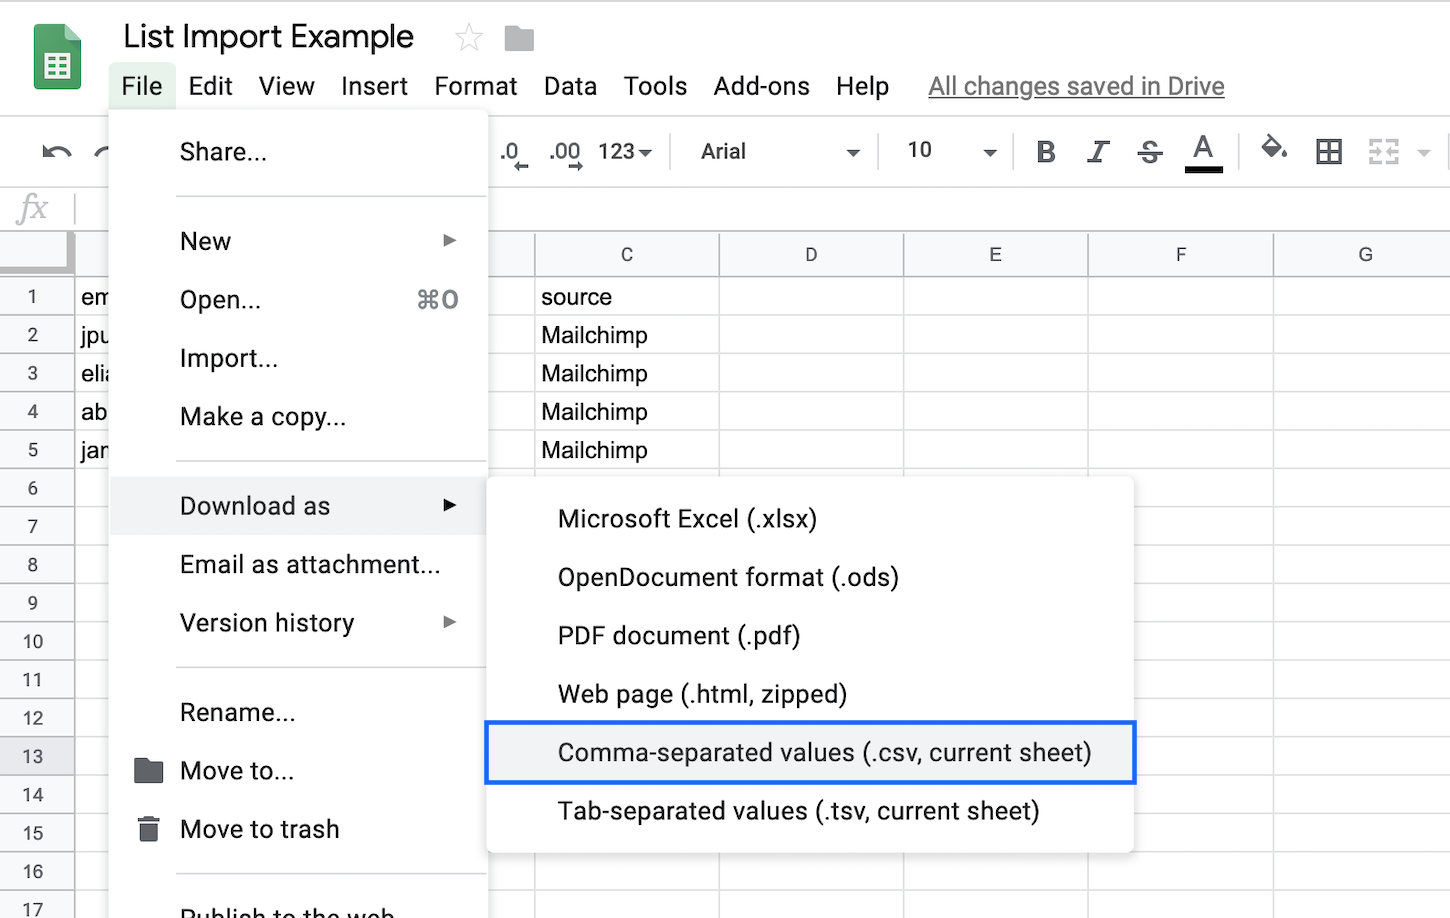
You may import contacts from another application to a Rejoiner list by uploading a comma-delimited CSV file. Click here to download an example.
Why this Format?
A comma-delimited is a type of data format in which each piece of data is separated by a comma. This is a popular format for transferring data from one application to another, because most database systems are able to import and export comma-delimited data.
For example, data pulled from a database and represented in comma-delimited format looks something like the following. Each column value is separated by a comma from the next column's value and each row starts a new line:
email,first_name,last_name,age,birthdate,gender,location
[email protected],Adams,Jane,1973-03-31,46,f,New York
[email protected],Doe,John,1987-10-01,32,m,California
[email protected],Jones,Sam,2006-04-20,13,m,Texas
[email protected],Smith,Mary,1955-12-04,64,f,Louisiana
Creating Valid CSV files
Creating a CSV file is pretty easy. However, each application and operating-system generates CSV files differently.
UTF-8 Encoding RequiredCSV files for upload must be encoded in UTF-8 format.
Attempting to use non-UTF-8 encoded CSV files may result in unexpected results or errors. If you are unsure whether your CSV file is UTF-8 encoded, please contact us for help.
Creating a CSV file from scratch
Follow the steps below to create a CSV from scratch.
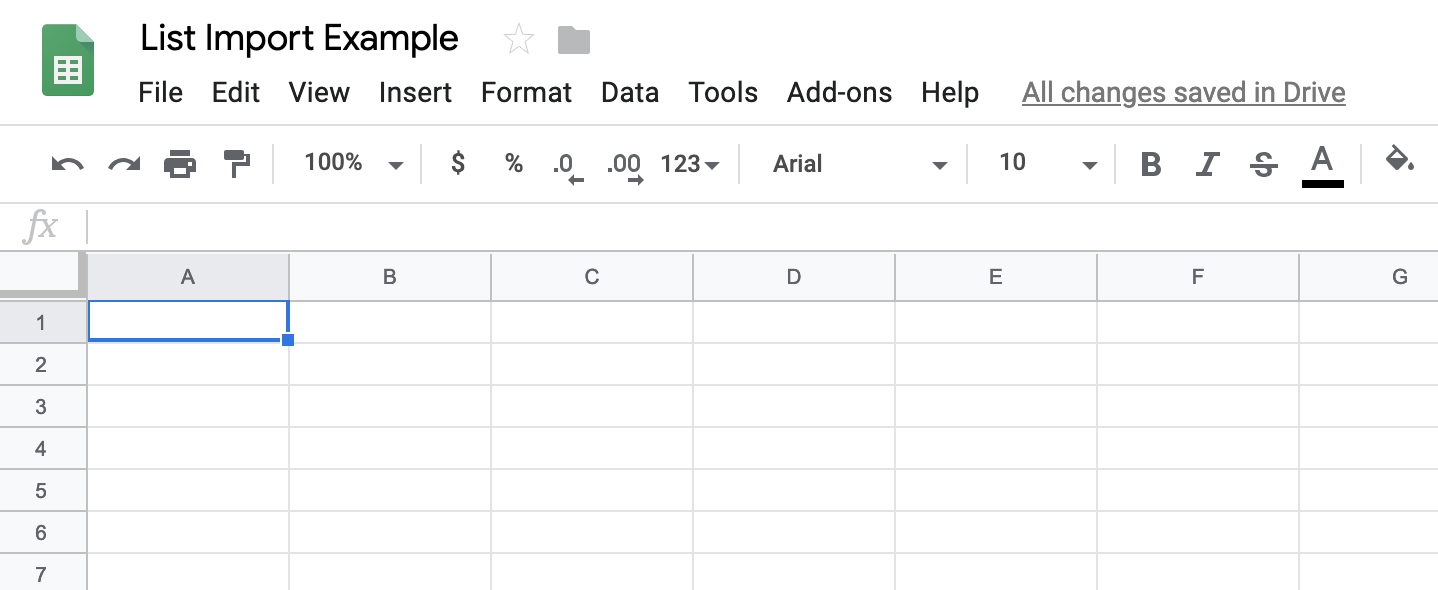
- In a spreadsheet program like Excel or Google Sheets, open a blank worksheet.
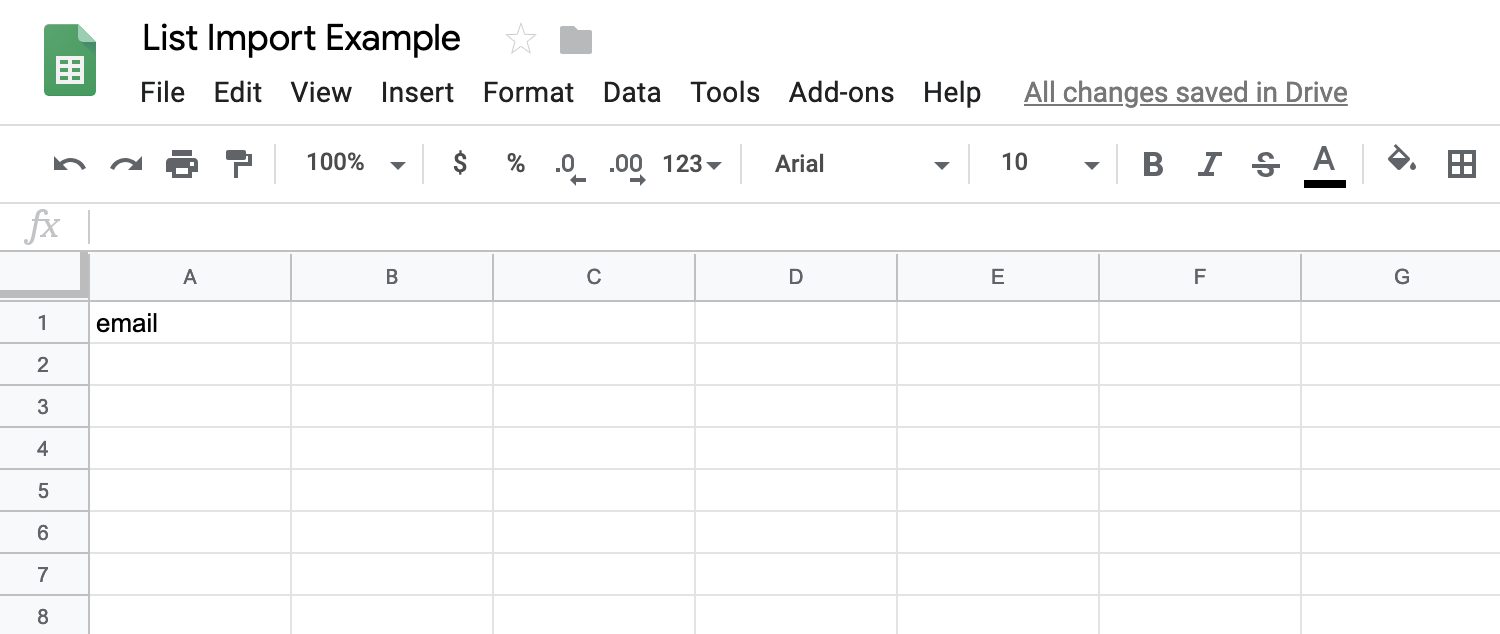
- Create and label a column for your contacts'
emailaddress. This is the only field value we require in order to process a List update.
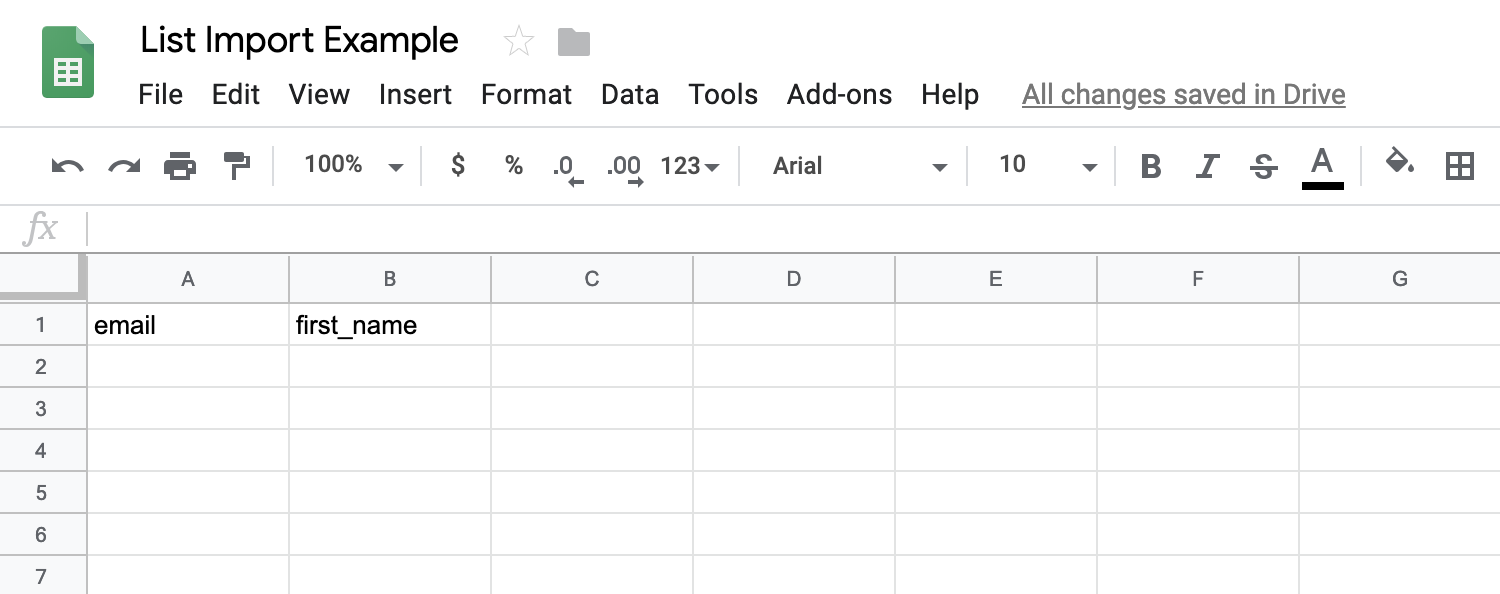
- Next to your
emailcolumn, create a column and a label to include you contacts'first_name. You can skip this column if you do not want to add that data or have that data.
- Next, create and label any additional columns. For example:
source
- Add your contacts' information in the appropiate columns. Starting from the second row, below your column labels.
- Save and export your file as a CSV. If you save the file as another type, we won't be able to process it.
Preparing a CSV from a Platform
If you're not creating a CSV file from scratch, then we recommend you take a look at the helpful tips from the following platforms.
Preparing a CSV from an ESP
If you're not starting a CSV from scratch, or manually creating it from existing data, you're likely looking into an ESP export.
Checking Your CSV file
Below is a list of ways to check that your CSV file will render as valid when importing it to Rejoiner:
-
Separate data fields with adelimiter, this should be a comma. This should be a single character.
-
Keep each record on a separate line. Each record must start on its own line.
3.Do not follow the last record in a file with a carriage return.
-
In the first line of the file, include a header with a list of the column names in the file. This is required as it allows the file to be self-documenting.
-
Make sure the header list is delimited in the same way as the rest of the file. This helps guard against the data fields being transposed in the data when it is loaded.
Common CSV errors
Excel is commonly used to view CSV files, but it often imposes formatting that skews data and results in importing errors. Below you'll see examples of common errors and how to solve these.
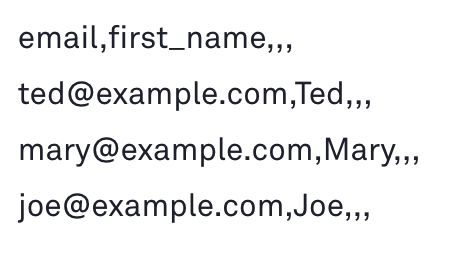
Trailing Commas
Saving an Excel file as a CSV file can create extra commas at the end of each row. These are often called trailing commas. Trailing commas can result when columns are deleted or column headers removed.
This tends to happen when you export data from another application. Then the application gives us more data columns than what you'd like to import to Rejoiner.
To identify this issue, we recommend opening the file in a text editor (like Notepad for PC, or TextEdit for Mac).
You’ll see trailing commas at the end of each row, like this:
Steps to resolve the issue:
-
Open a new, blank spreadsheet in Excel.
-
Type in only the column headers for the data you will include in your upload (e.g.,
emailandfirst_name). -
Save the file as MS-DOS Comma Separated with a new name (e.g., subscribers-2.csv).
-
Open the old file (with the extra commas) and copy the rows below the column headers.
-
Paste the rows into the new file under your typed column headers.
-
Save your new file as MS-DOS Comma Separated again.
-
Once you’ve saved the data into the new file, you can close it and rename it to something like subscribers.csv.
-
Upload your new file to Rejoiner.
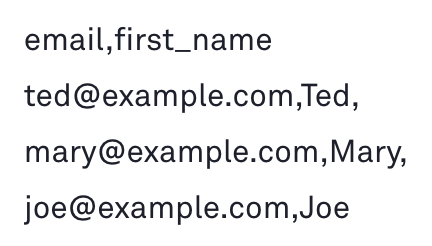
After you've corrected the trailing commas, your file will look like so:
Extra commas in field values
If your CSV file has no trailing commas, it is likely that some value in your data is throwing things off.
An example of this is when a field value includes a comma.
| first_name | last_name |
|---|---|
| John, Sr | Thompson |
Steps to resolve the issue:
As you can see in the table above, the input field value of John, Sr already includes a comma. This will treat the comma as a field separator unless the entire field value is enclosed in double quotation marks.
| first_name | last_name |
|---|---|
| "John, Sr" | Thompson |
Getting help
If after following the tips above, you are still having problems, please contact us for help.\
Copying & Pasting
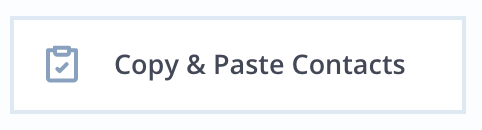
To use this option please select the following from your Update List side navigation options:
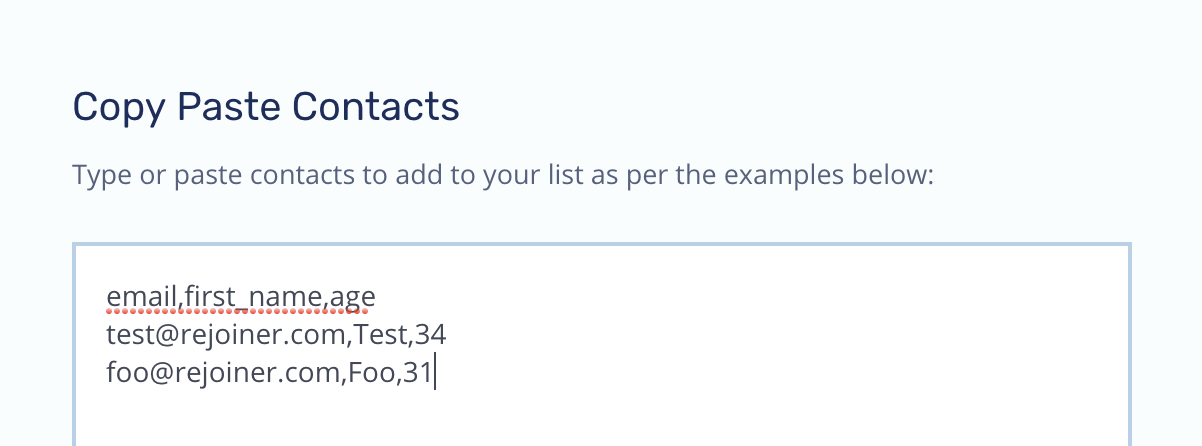
You can manually import contacts into a Rejoiner list via copy/paste, or by typing them.
- Upon selecting the Copy Paste option, you will be taken to the following screen:

- You may paste a list of contact emails, or contact emails and any other parameter values. Like so inside the text area:
email,first_name,age
[email protected],Test,34
NoteIf you're pasting other contact parameters, you must use the correct formatting and include all parameters—including the email parameter—as the first line.
- If adding more than
1contact, then you must add each contact's info in a new line:
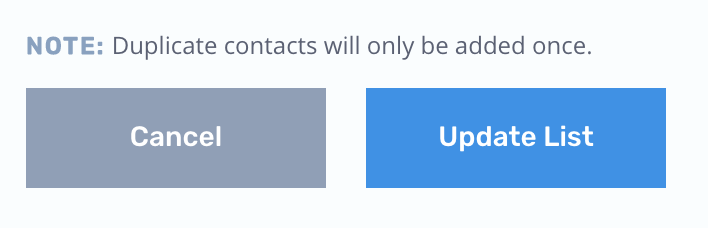
- Lastly, click on the Update List button to add your new contacts to the list.
- You should now see your new contacts in your list:

Syncing via Rest API
To sync your lists via Rest API please head over to our API documentation to learn more.
Updated 9 months ago