---
updatedAt: 2025-10-30T22:21:49.000Z
agentTools:
projectIndex: https://docs.rejoiner.com/llms.txt
---
# Facebook Ads
# Configuring Facebook Audiences
1. Once you've created a segment, head over to "Syncing" in the Segment's sub-navigation.
 2. Then click, "Add a New Channel"
 3. You will be prompted to provide authorization to your Facebook User account.
> ❗️ Your Facebook User must have access to grant permission for the Facebook Ads Account you want to use, and the Ads Account must be able to create a customer list Custom Audiences. If your Ads Account is new or if you’ve recently linked to an existing account, it may take a few weeks before you’re able to create a customer list Custom Audience.
4. Once authorization is complete, you may choose the Facebook Ads account you wish to use.
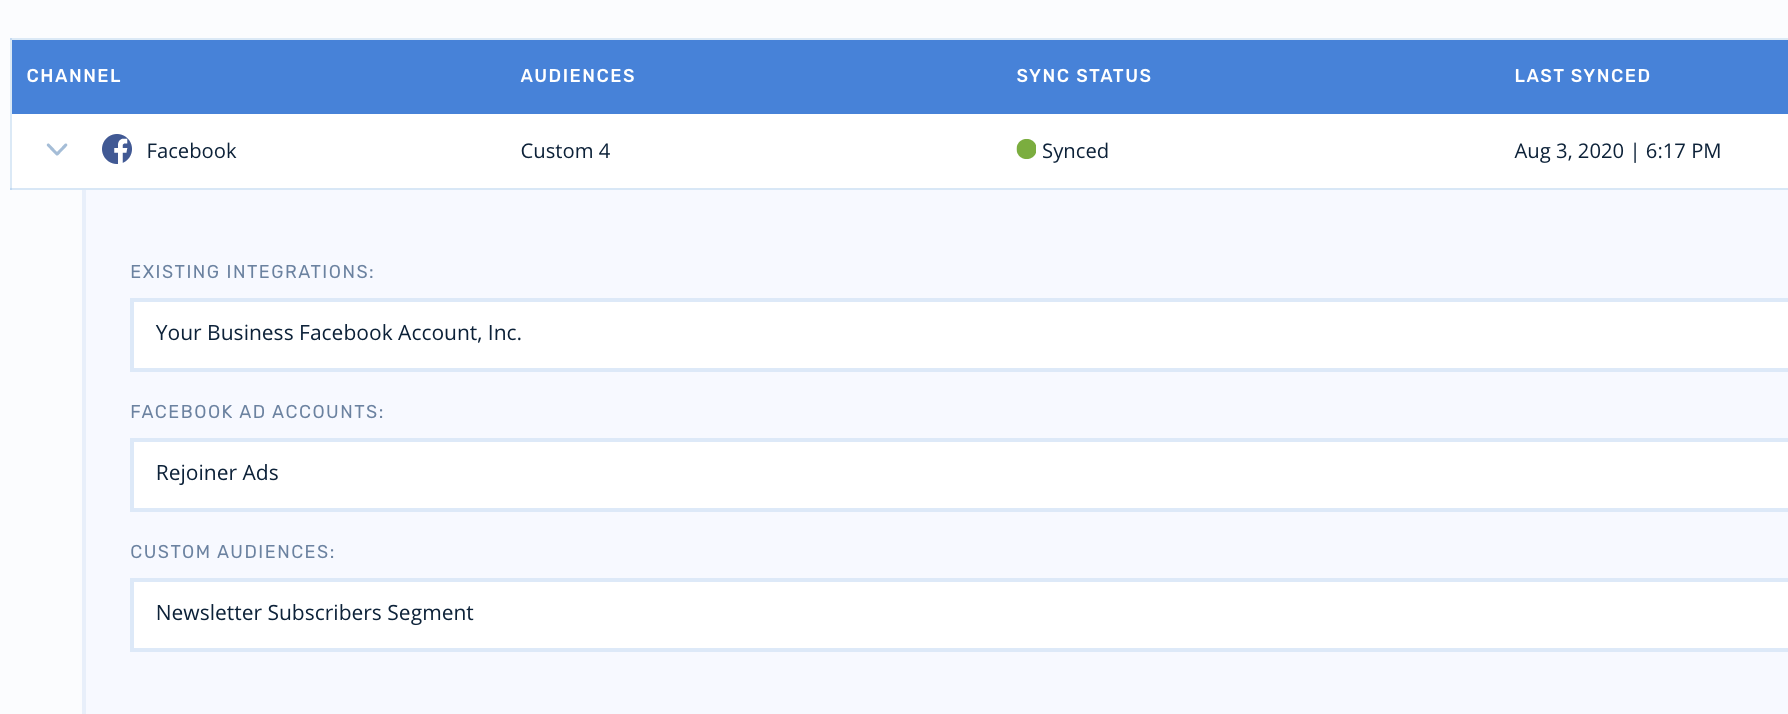 5. Then choose which Custom Audience to sync to, or select "Add Custom Audience" to create a new one.
6. Finally, click "Apply Changes" to finalize the sync configuration.
 > 👍 The segment will update every 24 hours, and any users added or removed from the segment will be added or removed from the connect Facebook Custom Audience.